In a recent post I discussed auditing existing websites for potential performance enhancements. In the process I discovered issues with the AntPace.com Lighthouse estimates (a topic I covered briefly in a post about progressive web apps).

My performance only scored 50 out of 100. One “opportunity” (estimated to save 2.16s) was to “serve images in next-gen formats”. AVIF (based on the AV1 video codec) and WebP are considered next generation because of “superior compression and quality characteristics compared to their older JPEG and PNG counterparts“. I chose to upgrade my images WebP (instead of AVIF) mostly due to greater browser support.
Before I upload images to this site, I usually run them through TinyPNG. Sometimes, I’ll also do some manual pre-processing in the GIMP, like cropping or scaling images down. I know that there must be a better way to do all of that through a proper CI pipeline – but for now that is my low tech solution. Now that I need to come up with a new process for next-gen image formats, it might be a good time to explore a more automated solution.
Properly Size an Image for Your Website
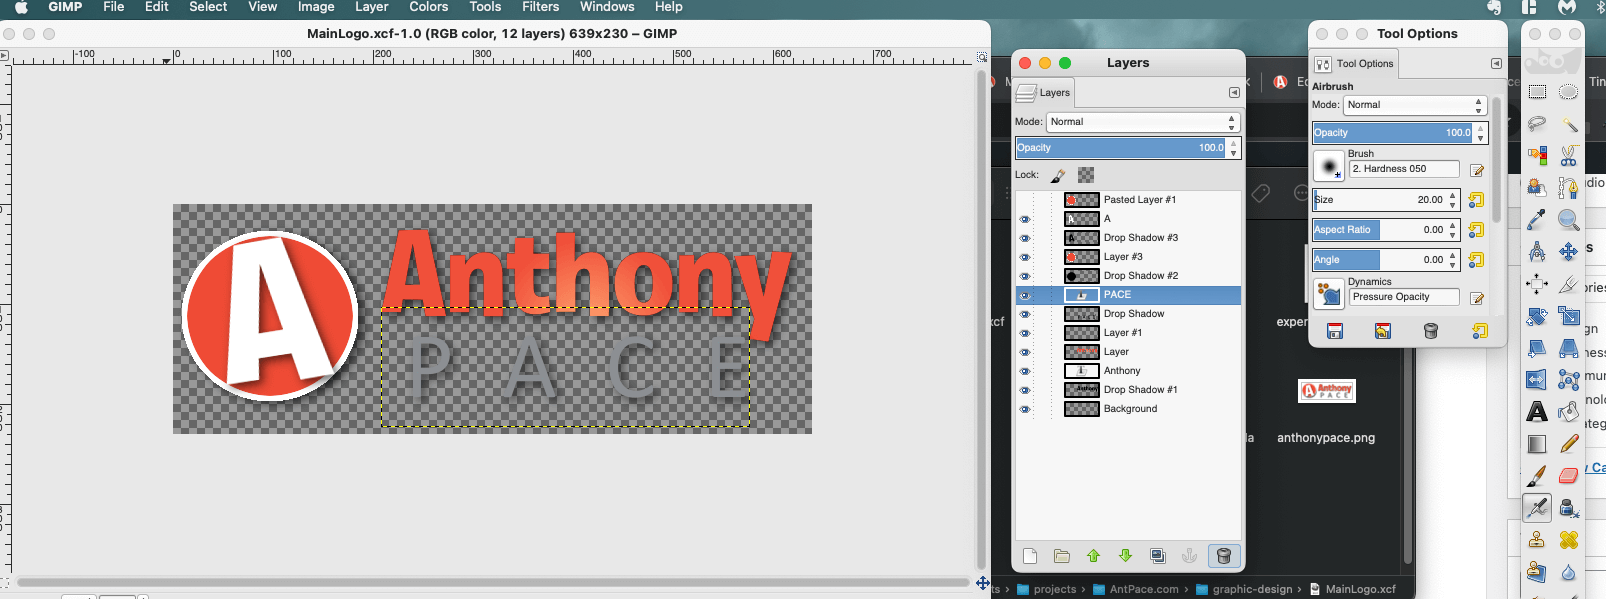
Site speed is important for user experience and SEO. Having an image with unnecessarily large dimensions eats up bandwidth and leads to slow load times. You can open an image file in the GIMP and use the scale tool to reduce the size while maintaining the ratio. Once it is reduced, you can copy and paste it to it’s own canvas and save the file.
I write more about using this image manipulation program in another article about design for programmers
Convert multiple images to next-gen WebP file format
For converting single images, manually, one at a time I could use the GIMP or an online service. I used a command line tool on my mac called webp tools to bulk upgrade all of the files in an image directory.
brew install webp
For a single file I can use this command:
cwebp -q 80 software-education.png -o software-education.webp
To hit all of my image files in that folder I ran loops over the existing file formats. You should change this to include any other file formats used in your project.
for i in *.jpg; do cwebp -q 80 "$i" -o "${i%.jpg}.webp";done
for i in *.png; do cwebp -q 80 "$i" -o "${i%.png}.webp";done
I saved them to a new folder, so that I could easily delete all of the old files at once and then replace them. Alternatively, I can save them in the same directory and then run a command to delete all of the .png files: rm *.png
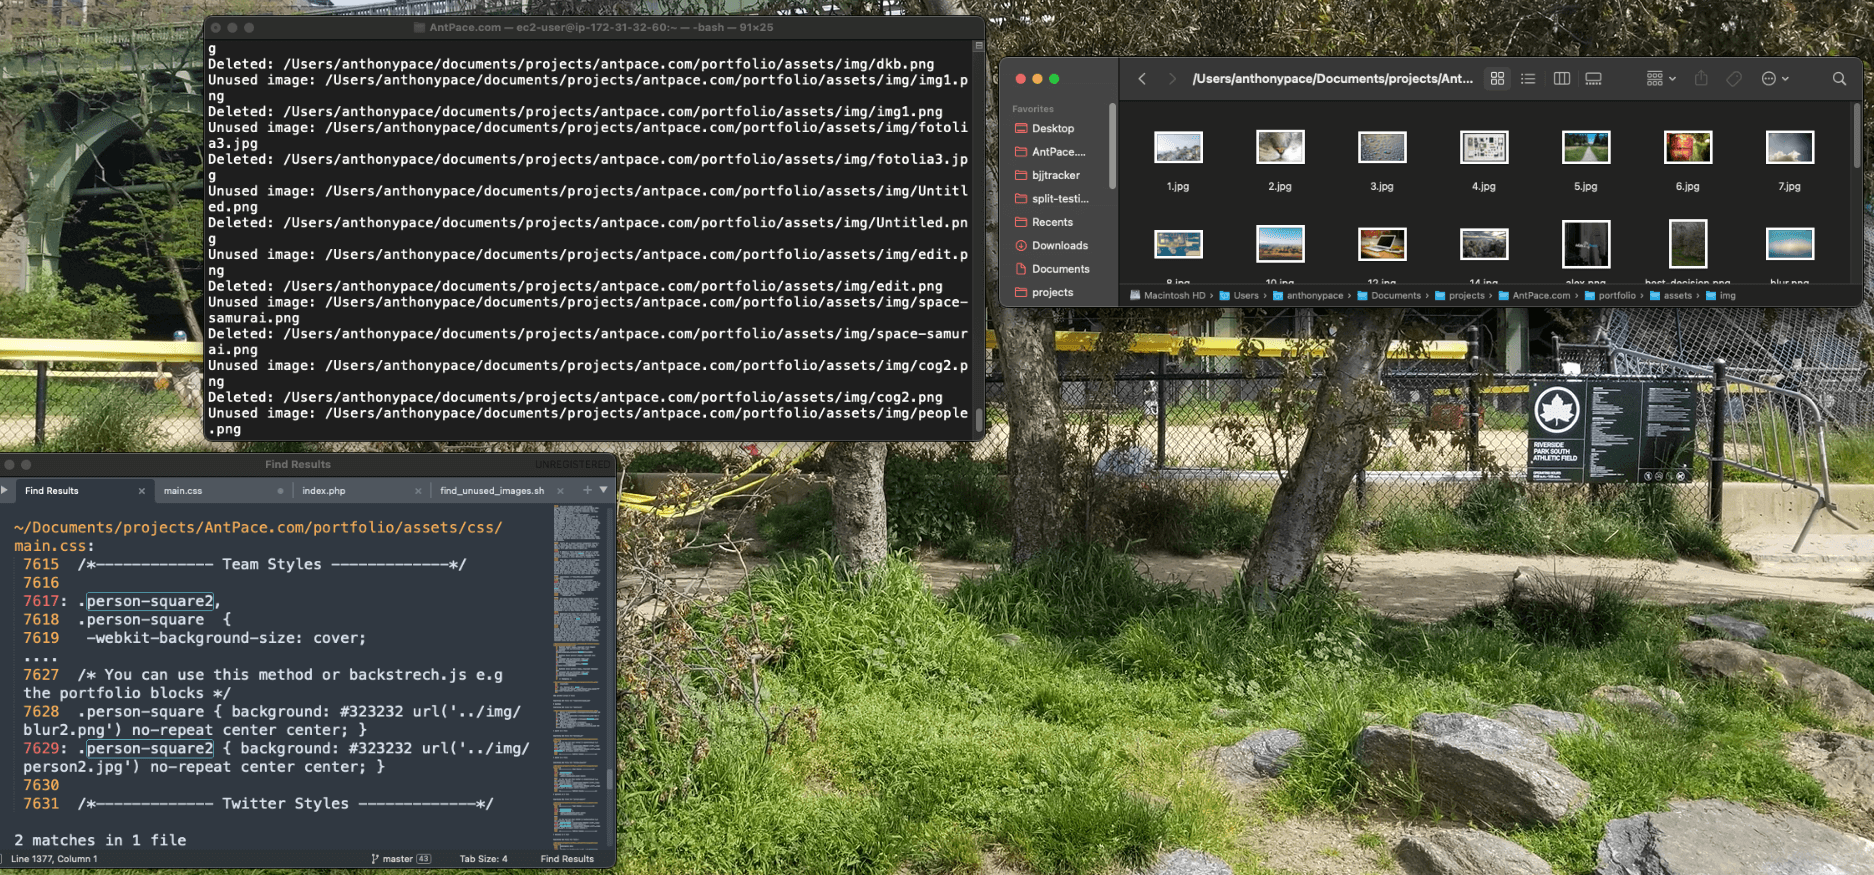
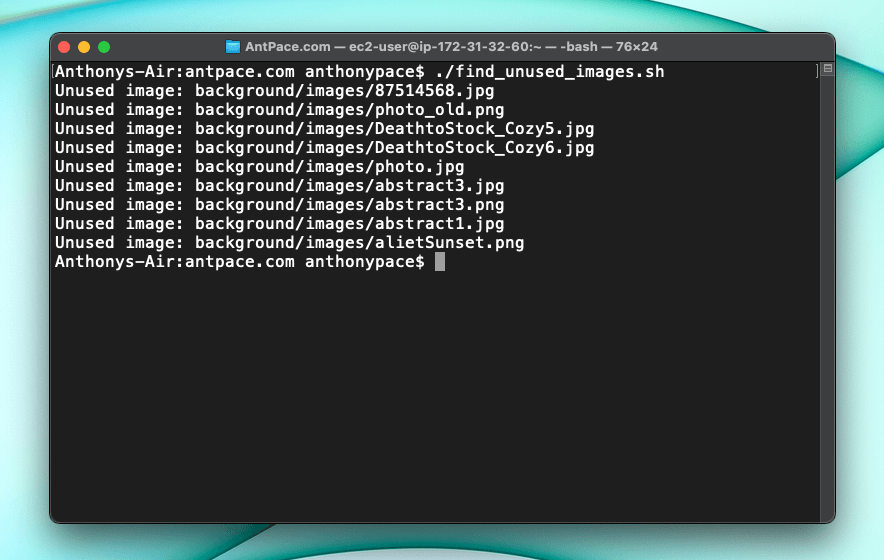
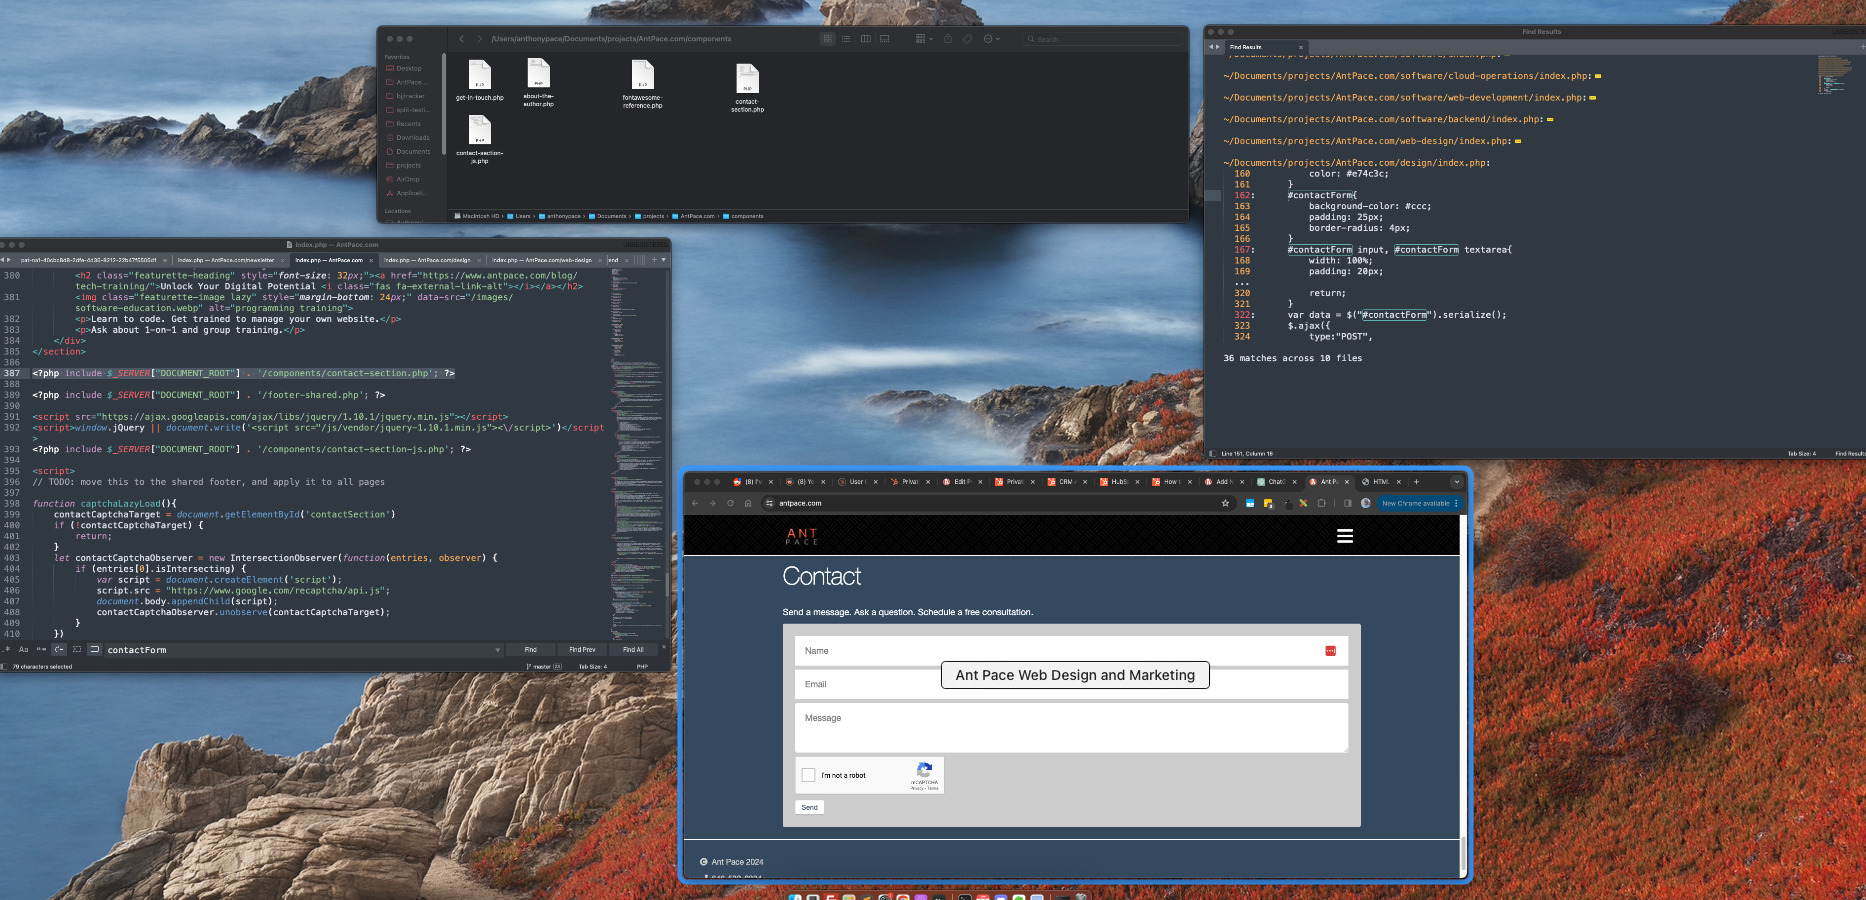
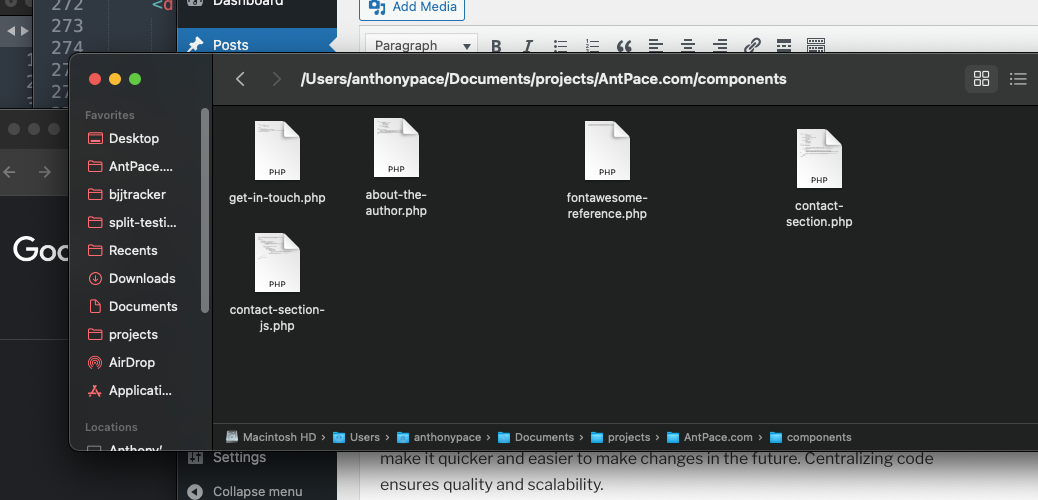
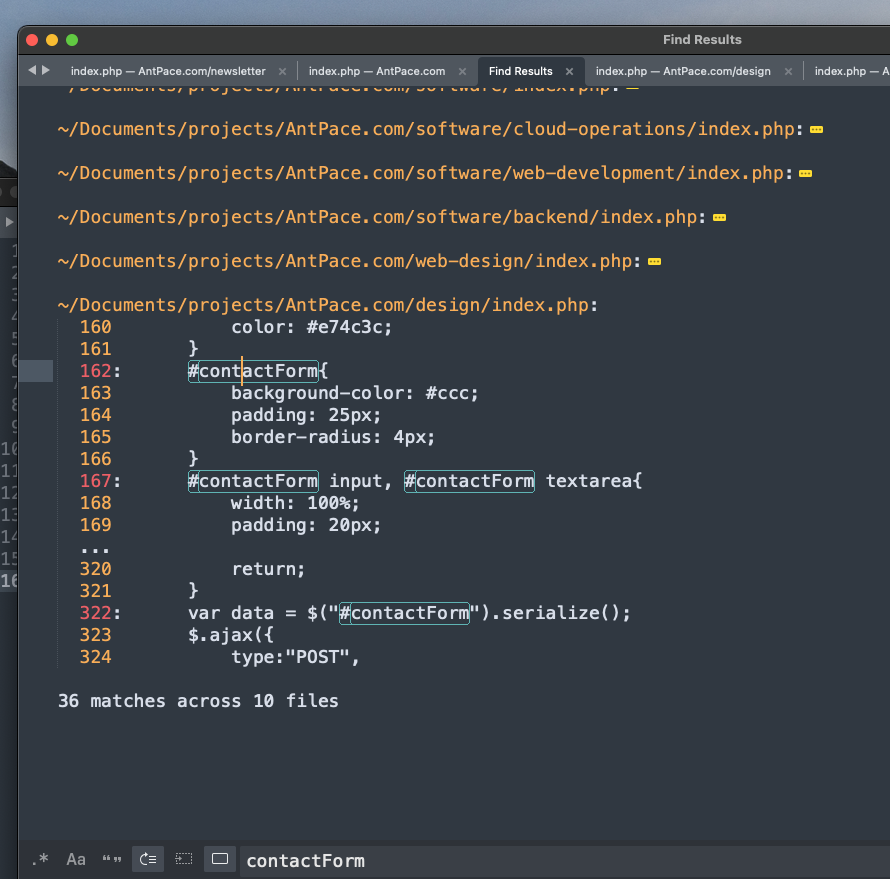
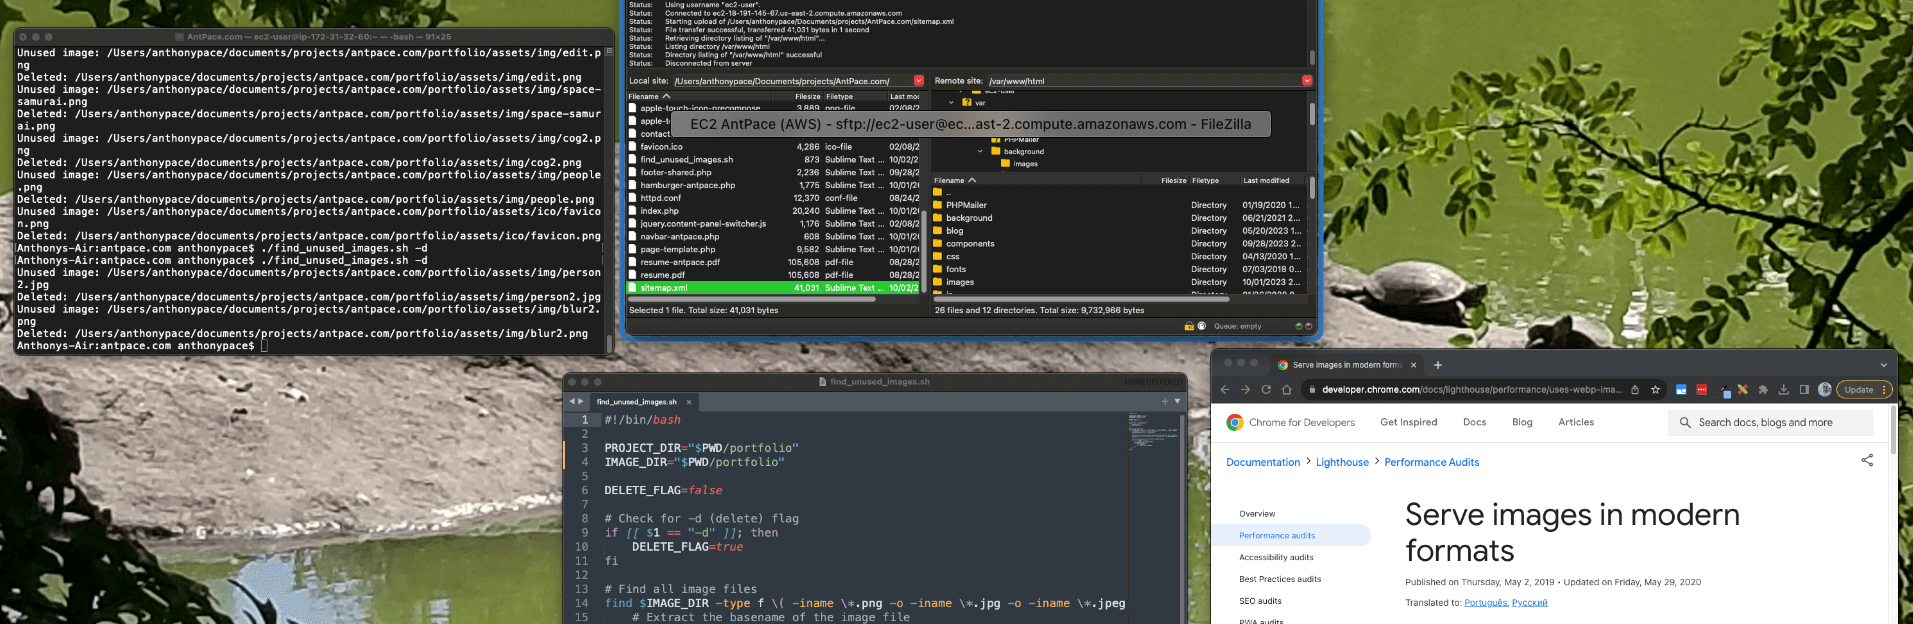
My website has been around for a while, so there are unused legacy media files. I manually searched my code base (ctrl + shift + f) for the file names listed in the various /image directories throughout my project, and deleted them if I found no references. (Maybe having so many disjointed image folders is part of a bigger problem with this project). If I did find it, I updated the file extension to webp. Later, I wrote a script to automatically find and delete unused image files from a project.
This change increased my Lighthouse performance score by ten points (I gained an additional two but upgrading MariaDB from version 10.2 to 10.4). I did this process is a few other directories of my project to complete the upgrade. I was going to convert my Apple touch icon files to a next-gen format too, but the documentation specify the use of the PNG format (good thing I checked).
WordPress and WebP
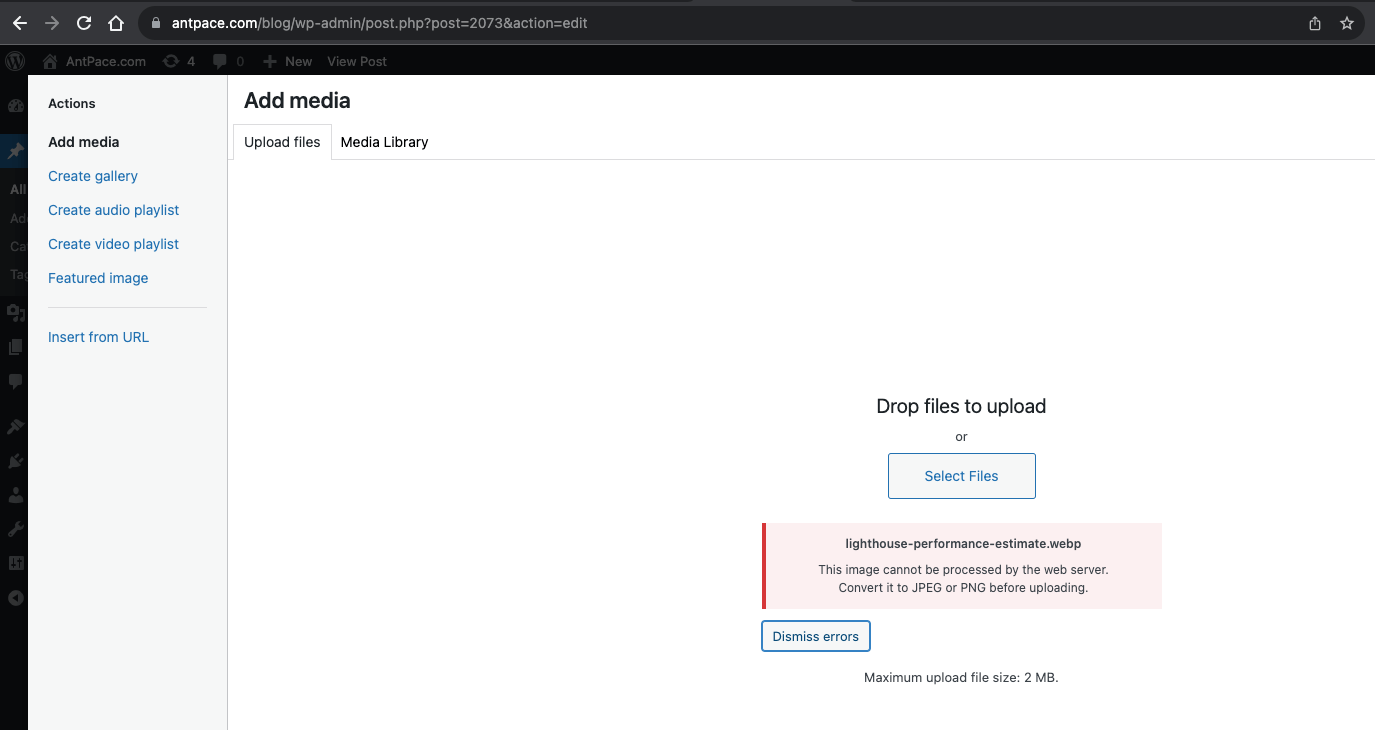
Having adopted WebP as the new standard file format for AntPace.com, I decided to upload .webp images to my posts – starting with this one. When I tried, WordPress complained: “This image cannot be processed by the web server. Convert it to JPEG or PNG before uploading.”
This surprised me. I upgraded WordPress to the latest version (6.3.1 at that time), but it didn’t help. After further investigation, it looked like the problem had to do with the PHP image module gd.
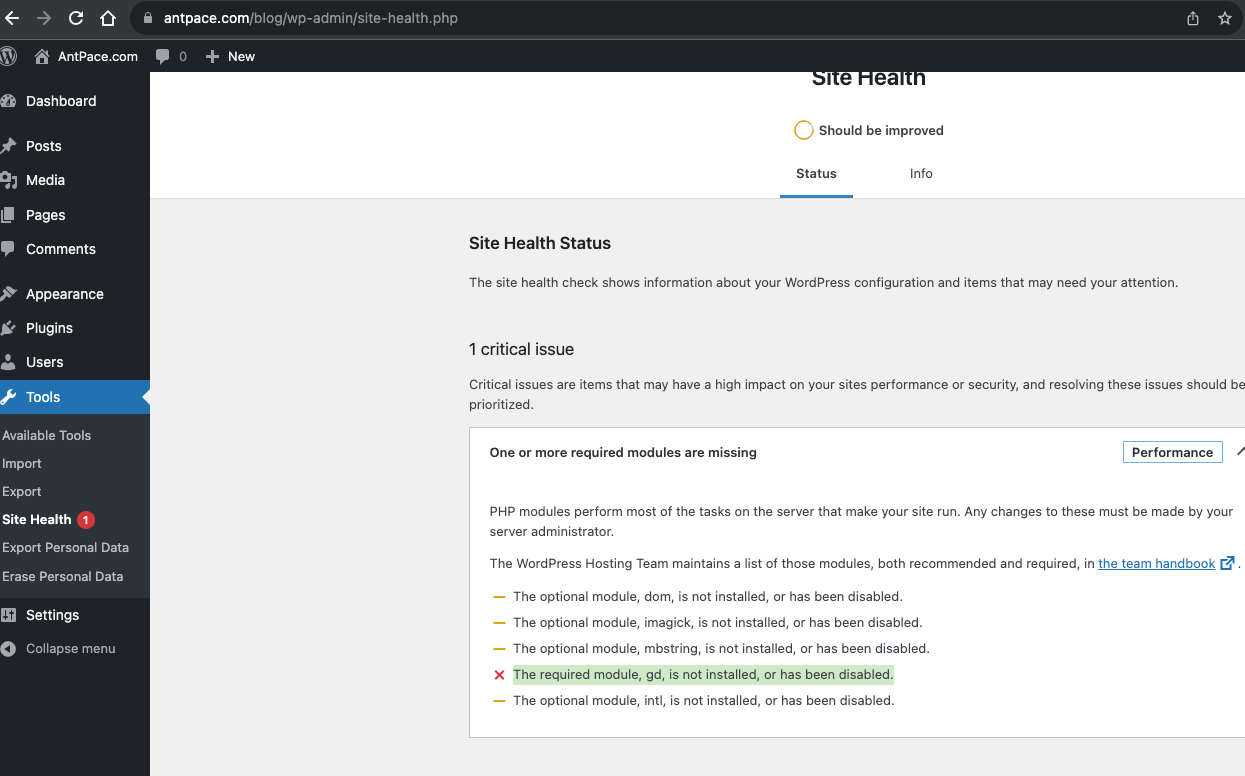
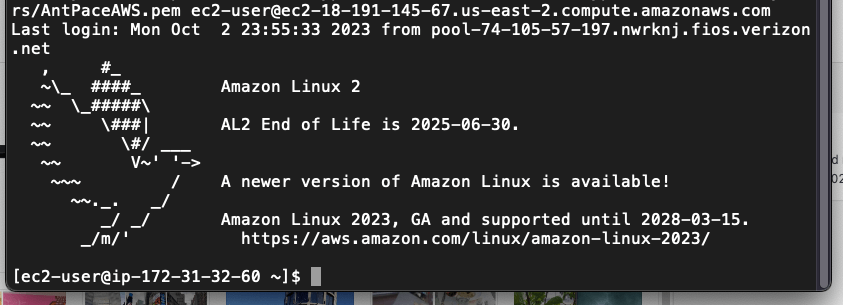
I SSH’d into my EC2 instance to see what I could do. When I tried to install gd for my PHP version 7.4, I got a version mismatch error. It had to due with Amazon Linux 2 (the OS I run on AWS EC2) not supporting PHP 7.4 as it approaching or have passed their end-of-support dates. Every time I tried to installthe gd module, Amazon Linux Extras (the default Amazon Linux 2 package mechanism) would try to pull the version compatible with PHP 7.2. In an attempt to make it work, I manually disabled ‘amazon-linux-extras’, installed the Remi repository and made sure it was prioritized as my package manager. Still, “Packages skipped because of dependency problems”.
The same thing happened when I tried using ImageMagick instead. This made me consider my Linux distribution. Not having gd installed what causing other problems when uploading media through WordPress (responsive image sizes are not being generated).
I had been wanting to upgrade the size of my EC2 instance anyway, so this might be the right time. I am considering Amazon Linux 2023 or a Bitnami image. As you know, I’ll write a blog post about which I choose and the implementation details