Distributing software to app and plugin markets is a great way to gain organic traffic. Last year I submitted BJJ Tracker to the Google Play store as a Progressive Web App. Since then, I get signups every few days – with zero marketing effort.
I created a WordPress plugin for SplitWit, to grow its reach in a similar way. SplitWit helps run A/B experiments on the web. A JavaScript snippet needs to be added to your code for it to work. This plugin injects the code snippet automatically.
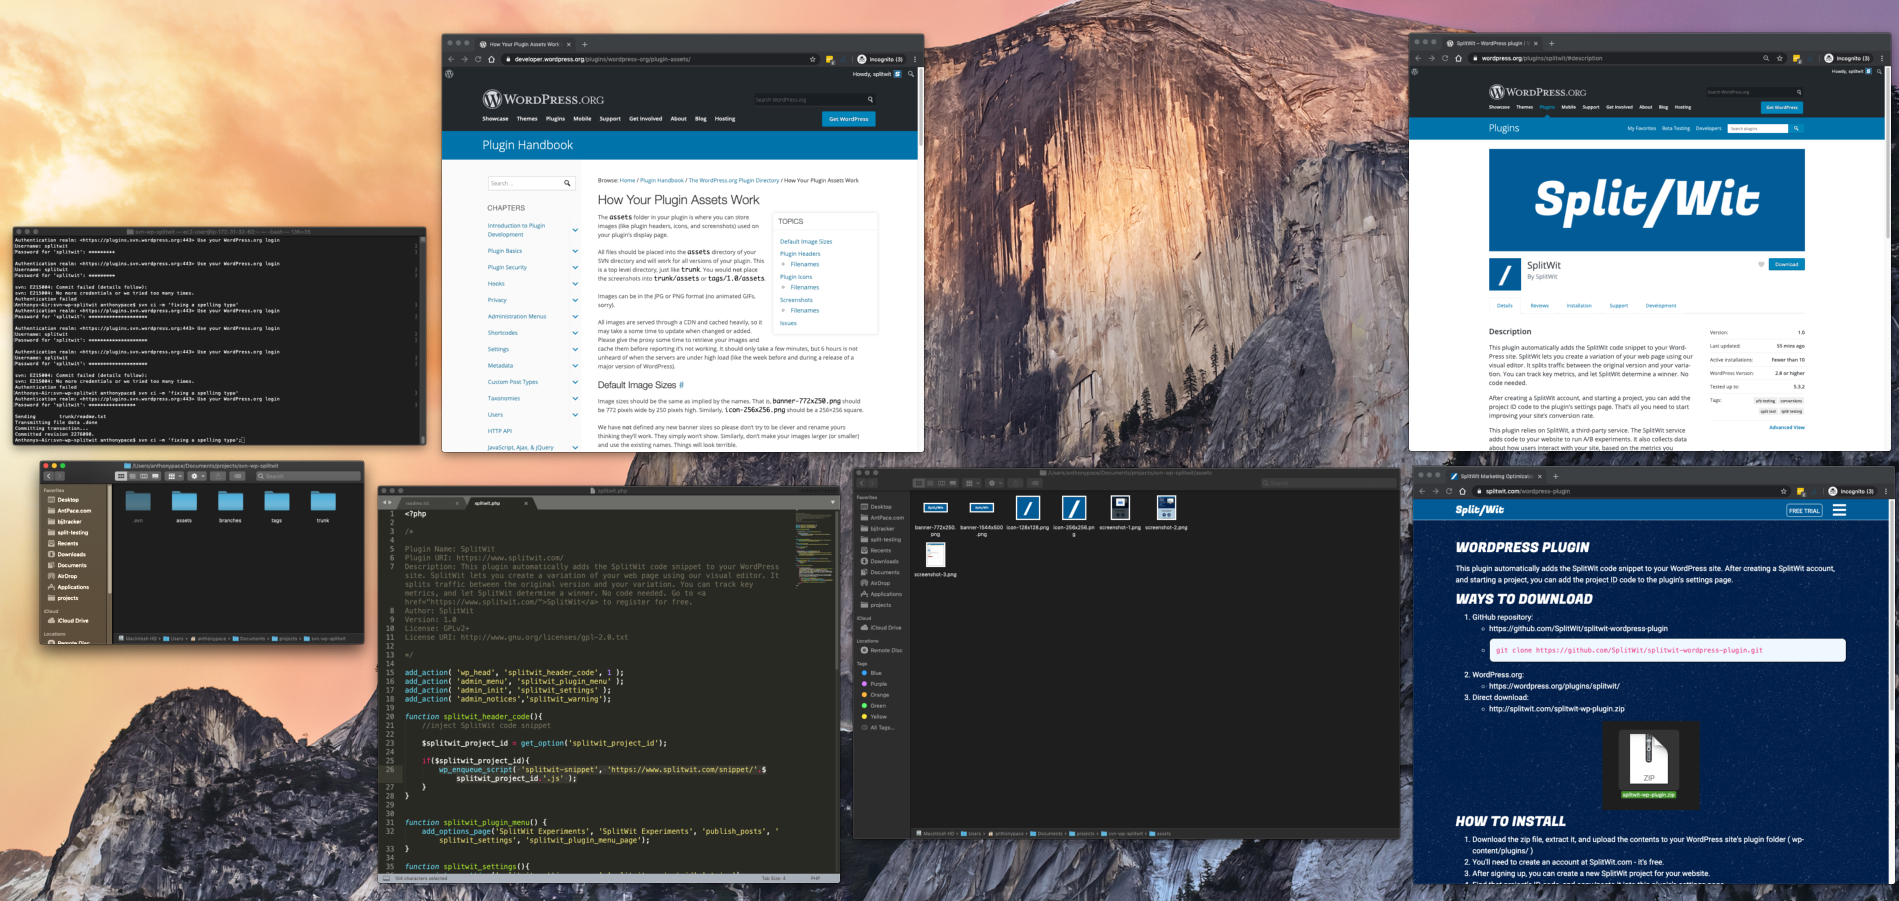
Here is the process I took to develop and submit it to the WordPress plugin directory.
Plugin code
Since this is such a simple plugin, all I needed was one PHP file, and a readme.txt file. “At its simplest, a WordPress plugin is a PHP file with a WordPress plugin header comment.”
The header comment defines meta-data:
/*

Plugin Name: SplitWit
Plugin URI: https://www.splitwit.com/
Description: This plugin automatically adds the SplitWit code snippet to your WordPress site. SplitWit lets you create a variation of your web page using our visual editor. It splits traffic between the original version and your variation. You can track key metrics, and let SplitWit determine a winner. No code needed. Go to SplitWit to register for free.
Author: SplitWit
Version: 1.0
License: GPLv2+
License URI: http://www.gnu.org/licenses/gpl-2.0.txt

*/
My PHP code defines six functions, uses four action hooks, and one filter hook.
The first function injects the SplitWit snippet code into the WordPress website’s header:
function splitwit_header_code(){
	//inject SplitWit code snippet

	$splitwit_project_id = get_option('splitwit_project_id');

	if($splitwit_project_id){
		wp_enqueue_script( 'splitwit-snippet', 'https://www.splitwit.com/snippet/'.$splitwit_project_id.'.js' );
	}
}
add_action( 'wp_head', 'splitwit_header_code', 1 );
Another defines the WordPress plugin’s menu page:
function splitwit_plugin_menu_page() { ?>

	<div>
		<h1>SplitWit Experiments</h1>
		<p>This plugin automatically adds the <a href="https://www.splitwit.com" target="_blank">SplitWit</a> code snippet to your WordPress site. <a href="https://www.splitwit.com" target="_blank">SplitWit</a> lets you create a variation of your web page using our visual editor. It splits traffic between the original version and your variation. You can track key metrics, and let SplitWit determine a winner. No code needed.
		</p>
		<p>You'll need to create an account at SplitWit.com - it's free. After signing up, you can create a new SplitWit project for your website. Find that project's ID code, and copy/paste it into this page.</p>

		<form method="post" action="options.php">
			<?php settings_fields( 'splitwit_settings_group' ); ?>
			<input style="width: 340px;display: block; margin-bottom: 10px;" type="text" name="splitwit_project_id" value="<?php echo get_option('splitwit_project_id'); ?>" />
			<input type="submit" class="button-primary" value="Save" />
		</form>
	</div>

<?php }
I add that menu page to the dashboard:
function splitwit_plugin_menu() {
	add_options_page('SplitWit Experiments', 'SplitWit Experiments', 'publish_posts', 'splitwit_settings', 'splitwit_plugin_menu_page');
}
add_action( 'admin_menu', 'splitwit_plugin_menu' );
And link to it in the Settings section of the dashboard:
function splitwit_link( $links ) {
     $links[] ='<a href="' . admin_url( 'options-general.php?page=splitwit_settings' ) .'">Settings</a>';
    return $links;
}
add_filter('plugin_action_links_'.plugin_basename(__FILE__), 'splitwit_link');
When the SplitWit code snippet is injected into the website’s header, it needs to reference a project ID. I register that value from the menu page:
function splitwit_settings(){
	register_setting('splitwit_settings_group','splitwit_project_id','string');
}
add_action( 'admin_init', 'splitwit_settings' );
If the project ID value has not been defined, I show a warning message at the top of the dashboard:
function splitwit_warning(){
  if (!is_admin()){
     return;
  }

  $splitwit_project_id = get_option("splitwit_project_id");
  if (!$splitwit_project_id || $splitwit_project_id < 1){
    echo "<div class='notice notice-error'><p><strong>SplitWit is missing a project ID code.</strong> You need to enter <a href='options-general.php?page=splitwit_settings'>a SplitWit project ID code</a> for the plugin to work.</p></div>";
  }
}
add_action( 'admin_notices','splitwit_warning');
The readme.txt defines additional meta-data. Each section corresponds to parts of the WordPress plugin directory page. The header section is required, and includes some basic fields that are parsed to the plugin page UI.
=== SplitWit ===
Contributors: SplitWit
Plugin Name: SplitWit
Plugin URI: https://www.splitwit.com
Tags: split test, split testing, ab testing, conversions
Requires at least: 2.8
Tested up to: 5.3.2
Stable tag: 1.0

Optimize your website for maximum convertibility. This plugin lets you use SplitWit to run experiments on your WordPress website.
I also added sections for a long description and installation instructions. Later, I included a screenshots section (see Subversion repo).
Submit for review
Plugin zip files can be uploaded to WordPress.org. Plugins can also be distributed to WordPress users without this step – but having it listed in the WordPress directory lends credibility and visibility. After my initial submission, I received an email indicating issues with my code and requesting changes. The changes were simple: “use wp_enqueue commands” and “document use of an external service”.
Originally, my “splitwit_header_code()” function include the SplitWit JS snippet directly as plain text. I changed it to use the built-in function “wp_enqueue_script()”.
//wrong:
echo '<script type="text/javascript" async src="https://www.splitwit.com/snippet/'.$splitwit_project_id.'.js"> </script>';

//correct:
wp_enqueue_script( 'splitwit-snippet', 'https://www.splitwit.com/snippet/'.$splitwit_project_id.'.js' );
Next, they wanted me to disclose the use of SplitWit, the service that powers the plugin. I added this to my readme.txt:
This plugin relies on SplitWit, a third-party service. The SplitWit service adds code to your website to run A/B experiments. It also collects data about how users interact with your site, based on the metrics you configure.
After making these changes, I replied back with an updated .zip. A few days later I received approval. But, that wasn’t the end – I still needed to upload my code to a WordPress.org hosted SVN repository.
Subversion Repo
I’ve used Git for versioning my entire career. I had heard of SVN, but never used it. What a great opportunity to learn!
The approval email provided me with a SVN URL. On my local machine, I created a new folder, “svn-wp-splitwit”. From a terminal, I navigated to this directory and checked out the pre-built repo:
svn co https://plugins.svn.wordpress.org/splitwit
I added my plugin files (readme.txt and splitwit.php) to the “trunk” folder. This is where the most up-to-date, ready-to-distribute, version of code belongs.
In the “tags” folder, I created a new directory called “1.0” and put a copy of my files there too – for the sake of version control. This step is completely optional and is how SVN handles revisions.
In the assets folder I included my banner, icon, and screenshot files. The filenames follow as prescribed by WordPress.org. I made sure to reference the screenshot files in my readme.txt file, under a new “Screenshots” section.
Finally, I pushed my code back up to the remote:
svn ci -m "Initial commit of my plugin."
You can now find my plugin in the WordPress.org plugin directory. SplitWit is available for a free trial. Give it a try, and let me know what you think.
Pro-tip: Some WordPress setups won’t let you to install plugins from the dashboard with out providing FTP credentials, including a password. If you use a key file, instead of a password, this is a roadblock.
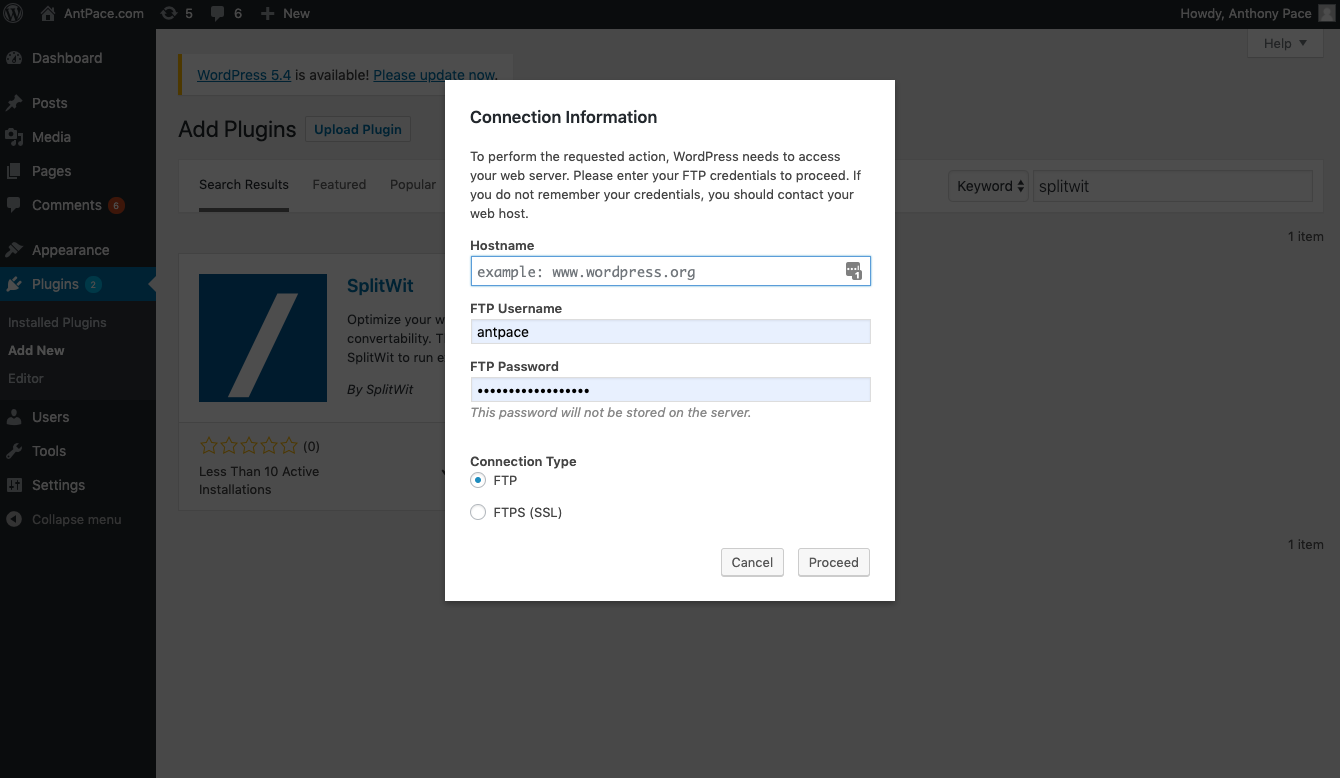
You can remedy this by defining the file system connection method in your functions.php file:
define( 'FS_METHOD', 'direct' );
