Content Management
Any product, experience, or artwork – anything you build – is made up of pieces. And content always sits at the center. Content is the fleshy part of media.
The other pieces include structure, style, and functionality. These parts layout a skeleton, decorates the aesthetic, and adds usefulness. This model translates well to modern web development. HTML defines the structure. CSS describes the style. JavaScript adds interactivity. But always, content is King.
That’s why a robust content management system (CMS) is critical. Most clients prefer to have one. It makes updates easy. WordPress is the modern choice. It’s what this blog is built on.
WordPress Website
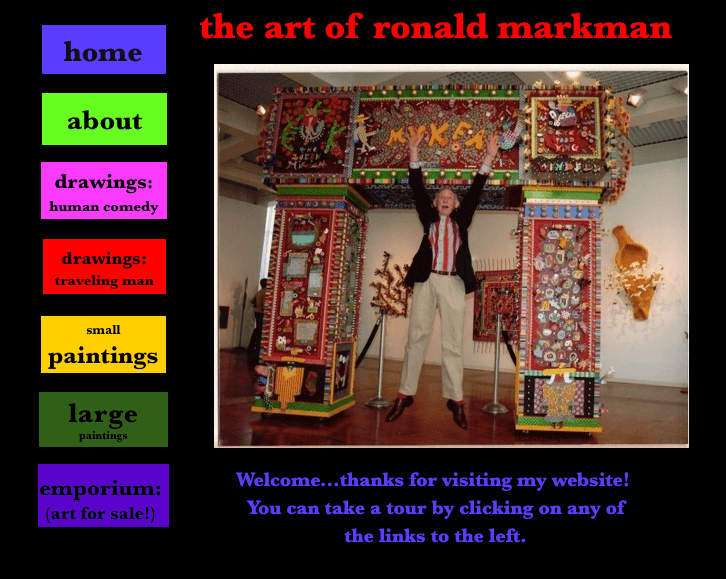
A website I built featured the work of visual artist Ron Markman – paintings, etchings, photos. It had a lot of content. A lot of content that needed massaging. As you may have guessed, I chose WordPress to manage it. I choose the HTML5 Blank WordPress Theme as our starting point.
I was recommended to Ericka by a previous client. Her late relative left behind a corpus of work that needed a new digital home. They already had a website, but needed it revamped and rebuilt from scratch.
This was my proposal:
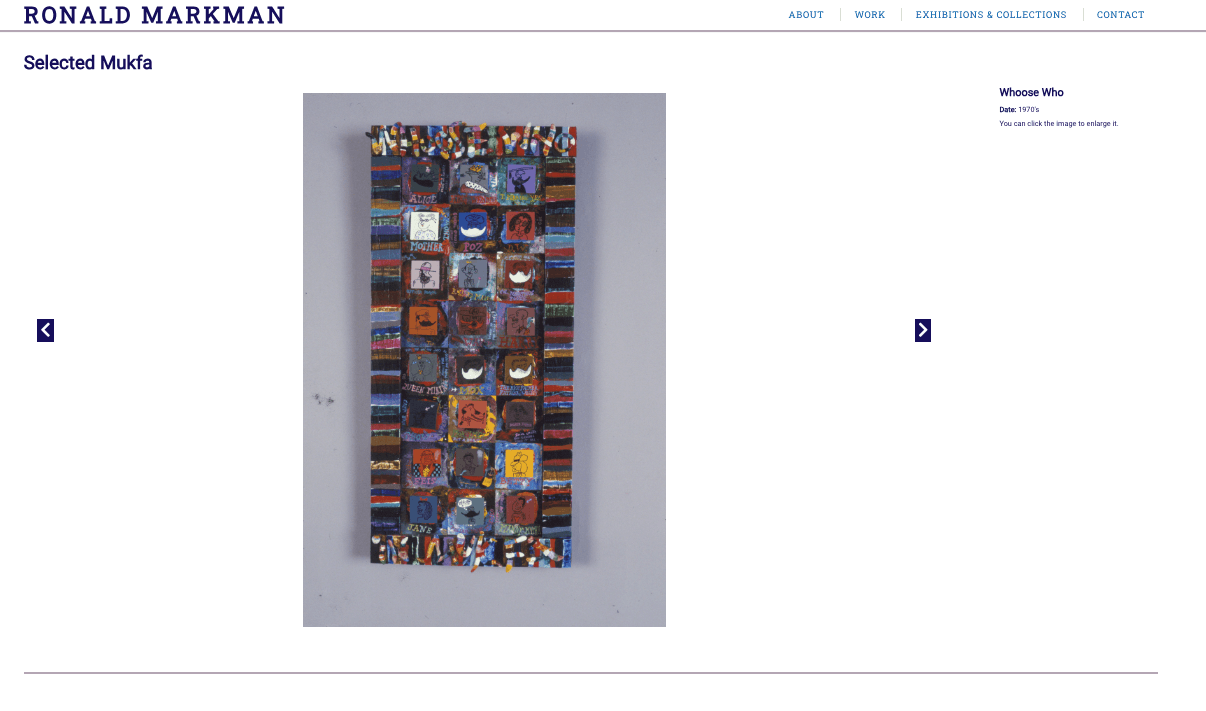
“The look and feel will be modern, sleek, and adaptive. The homepage will feature a header section highlighting selected work. The website’s menu will link to the various category pages (as well as any ancillary pages). The menu, along with a footer, will persist throughout all pages to create a cohesive experience and brand identity. The website will be built responsively, adapting to all screen-sizes and devices. As discussed, select content will feature “zooming” functionality.”
This was a situation where I had to be a project manager, and deliver results. Although the content itself was impressive, it was delivered as image files in various formats and different sizes. Filenames were not consistent. And the meta-data – descriptions, titles, notes – was listed is excel files that didn’t always match-up to the image’s filename. This required a lot of spot checking, and manual work. I did my best to automate as much as I could, and make things uniform.
Phases of Work
I broke the work out into four phases. This is how I described it to the client:
Layout and hierarchy
I will provide wire-frame layouts describing the essential structure, layout and hierarchy of the website overall.
Look and feel
I will finalize aesthetic details such as color palette, typography, user interface, and stylization.
Implementation
I will build and deploy the website with the content provided.
Content input
You’ll need to provide all copy, images, media, etc. before a first build of the website can be deployed. I’ll be implementing a standard content-management system that will allow you to add additional content, categories, pages, etc. Often times, content delivery can be a bottleneck for projects like this. After the finalized website is deployed live, with the initial content provided, you’ll be responsible for adding any more additionally.
Image Gallery
The UI to show each piece of art was powered by Galleria. It was out-of-the-box responsive. At first, each gallery page had so many large image files that things would crash or load very slowly. I was able to leverage the framework’s AJAX lazy loading to mitigate that issue.
Resizing Multiple Images
Resizing a batch of images can be done directly in Mac OS by selecting the files, and opening them in Preview. From the ‘Edit’ menu, I clicked ‘Select All’. Then, in the ‘Tool’ menu I found ‘Adjust Size’. Windows has a similar feature, as does other image manipulation apps.
Renaming Multiple Files
I had to make the filenames match what was listed in the meta-data spreadsheet. Here’s the command I used, in Mac OS, to truncate filenames to the first eight characters:
rename -n 's/(.{8}).*(\.jpg)$/$1$2/' *.jpg
Batch Uploading WordPress Posts
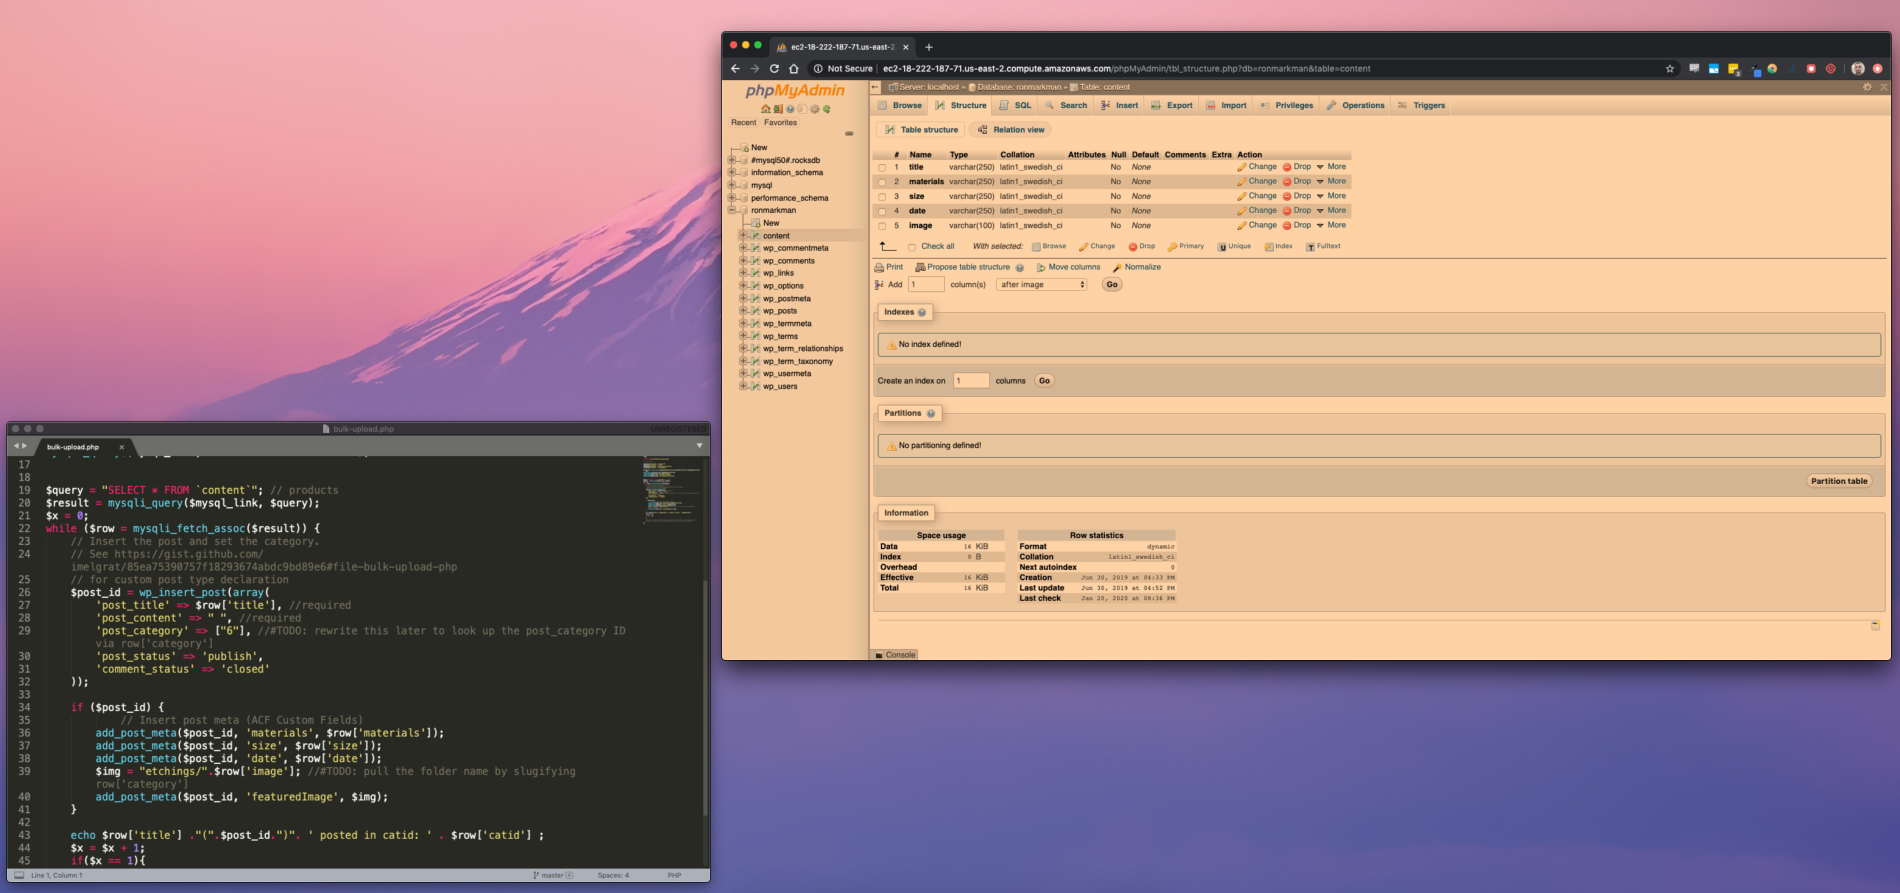
Each piece of art was a WordPress post, with a different title, meta-values, and image. Once all of the files were sized and named properly, I uploaded them to the server via sFTP. Each category of art (paintings, photos, etc.) was a folder. I created a temporary database table that matched the columns from the meta-data spreadsheet I was given.
CREATE TABLE `content` (
  `content_id` int,
  `title` varchar(250) NOT NULL,
  `medium` varchar(250) NOT NULL,
  `category_id` varchar(250) NOT NULL,
  `size` varchar(250) NOT NULL,
  `date` varchar(250) NOT NULL,
  `filename` varchar(100) NOT NULL,
  `processed` int
) ENGINE=InnoDB DEFAULT CHARSET=latin1;
COMMIT;
I wrote a PHP script that would loop through all records, and create a new post for each. I had to make sure to include core WordPress functionality, so that I would be able to use the wp_insert_post() method.
require_once('/var/www/html/wp-load.php');
Once I connected to the database, I queried my temporary table, excluding any records that have been marked as already uploaded:
$query = "SELECT * FROM `content` where `processed` != 1";
$result = mysqli_query($mysql_link, $query);
While looping through each record, I would look up the WordPress category ID and slug based on the provided category name. This would allow my code to assign the post to the correct category, and to know which folder the image file was in. Once the post is inserted, I take that post ID and assign meta-values. At the end of the loop, I mark this record as processed.
while ($row = mysqli_fetch_assoc($result)) {

    $category = $row['category'];
    $content_id = $row['content_id'];
    $term_id = "";
    $slug = "";
    $category_query = $mysqli->prepare("SELECT * FROM `wp_terms` where name = :name");
    $category_query->bind_param(array(':name' => $category));
    $category_result = $category_query->execute();
    if (mysqli_num_rows($category_result) > 0) {
        while($cat_row = mysqli_fetch_assoc($category_result)) {
           $term_id = $cat_row['term_id'];
           $slug = $cat_row['slug'];
        }
    }
    $post_id = wp_insert_post(array(
        'post_status' => 'publish',
        'post_title' => $row['title'],
        'post_content' => " ",
        'post_category' => $term_id

    ));

    if ($post_id) {
        //meta-values
        add_post_meta($post_id, 'medium', $row['medium']);
        add_post_meta($post_id, 'size', $row['size']);
        add_post_meta($post_id, 'date', $row['date']);
        $img = $slug . $row['image'];
        add_post_meta($post_id, 'image_file', $img);
    }

    $update = $mysqli->prepare("UPDATE `content` SET processed = 1 where content_id = :content_id");
    $update->bind_param(array(':content_id' => $content_id));
    $update = $category_query->execute();
}
Managing clients, and their content, can be the most challenging part of web development. Using the right software for the job makes it easier. So does having a toolbox of techniques, and being clever.
Managing server operations
This website was hosted on AWS. It used EC2. At first, the instance size we selected was too small and led to repeated website crashes. That experience led me to coming up with a hacky work-around for restarting the server when it crashed – read about it here.