
I first explored reCAPTCHA for this website’s contact form. After getting too many spam messages, I decided to add some protection. It is Google’s implementation of CAPTCHA (reimagined) and has a long history.
The Turing Test is a concept introduced by the British mathematician and computer scientist Alan Turing in 1950 as a way to evaluate a machine’s ability to exhibit intelligent behavior indistinguishable from that of a human. The test is named after Alan Turing, who proposed it in his paper titled “Computing Machinery and Intelligence.” The history of CAPTCHA (Completely Automated Public Turing test to tell Computers and Humans Apart) traces back to the late 1990s when researchers began exploring ways to distinguish between humans and automated scripts or bots online.
Google’s reCAPTCHA service requires you to register the website you’re going to use it on:
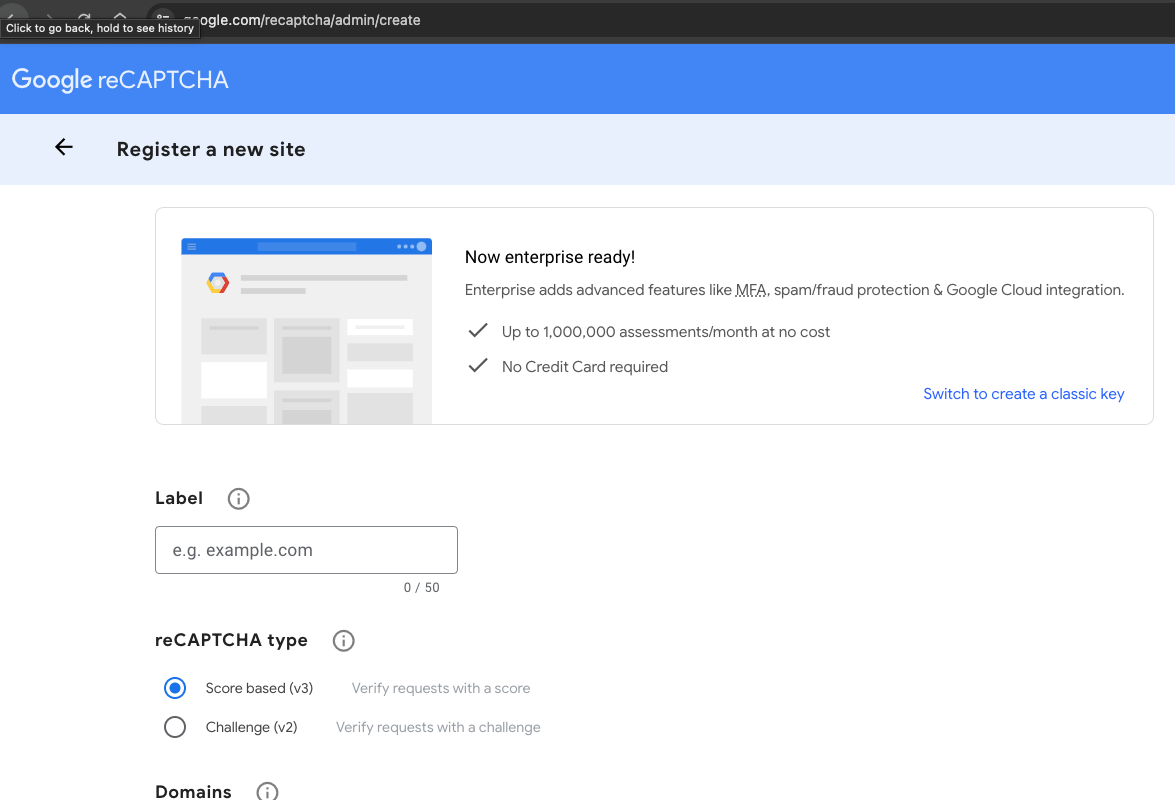
It provides “Up to 1,000,000 assessments/month at no cost”. Once registered you’ll get a site key (for the client side) and a secret key (for the server side).
PHP & JavaScript Implementation
You can use the keys to implement the Google reCAPTCHA service on a vanilla website. In your HTML contact form, you need to add the site key as an empty `<div> element’s `sitekey` data attribute:
<form id="contactForm">
    <div class="">
        <div><input type="text" placeholder="Name" name="name" value="" class=""></div>
        <div><input type="email" placeholder="Email" value="" name="email" class=""></div>
        <div><textarea placeholder="Message" rows="3" name="message" id="contactMessage" class=""></textarea></div>
        <div class="g-recaptcha" data-sitekey="XX-SITE-KEY-HERE-XX"></div>
        <div><button type="button" id="contactMe" class="btn">Send</button></div>
    </div>
</form>
The `.g-recaptcha` is transformed to a hidden input and visible user interface by Google’s JavaScript API. The UI is a checkbox that humans can click, but bots will miss. CAPTCHA mechanisms typically present users with tasks that are easy for humans to solve but difficult for automated scripts or bots.

CAPTCHA challenges can take various forms, such as:
- Text-based CAPTCHA: Users are asked to transcribe distorted or obscured text displayed in an image.
- Image-based CAPTCHA: Users are prompted to identify objects, animals, or characters within a series of images.
- Checkbox CAPTCHA: This is what our example here is using. Users are asked to check a box to confirm that they are not a robot. This can be combined with additional checks, such as analyzing mouse movements or browsing patterns, to verify user authenticity.
- Interactive CAPTCHA: Users are presented with interactive puzzles or challenges, such as rotating objects or dragging and dropping items into specific locations.
I defer the loading of that script using lazy loading:
function captchaLazyLoad(){
	contactCaptchaTarget = document.getElementById('contactSection')
	if (!contactCaptchaTarget) {
        return;
    }
	let contactCaptchaObserver = new IntersectionObserver(function(entries, observer) {
		if (entries[0].isIntersecting) {
            var script = document.createElement('script');
		    script.src = "https://www.google.com/recaptcha/api.js";
		    document.body.appendChild(script);
            contactCaptchaObserver.unobserve(contactCaptchaTarget);
        }
	})
	contactCaptchaObserver.observe(contactCaptchaTarget);
}
captchaLazyLoad();
The assessment value is serialized with the form data and passed along via a RESTful AJAX POST request to the back-end service:
var notifications = new UINotifications();
$("#contactMe").click(function(){
	var contactMessage = $("#contactMessage").val();
	if(contactMessage.length < 1){
		notifications.showStatusMessage("Don't leave the message area empty.");
		return;
	}
	var data = $("#contactForm").serialize();
	$.ajax({
		type:"POST",
		data:data,
		url:"/contact.php",
		success:function(response){
			console.log(response)
			if(response === "bot"){
				notifications.showStatusMessage("Please confirm your humanity.");
				return;
			}
			notifications.showStatusMessage("Thank you for your message.");
			$("form input, form textarea").val("");
		}

	});
});
The receiving PHP file takes the reCAPTCHA assessment value, combined with our secret key, and passes them along to Google’s “site verify” service:
$secret = "XX-SERCET-KEY-XX";
$captcha = $_POST["g-recaptcha-response"];
$verify=file_get_contents("https://www.google.com/recaptcha/api/siteverify?secret={$secret}&response={$captcha}");
$captcha_success=json_decode($verify);
if ($captcha_success->success==false) {
	echo "bot";
	die();
}
If it is a bot, we `die()`.
reCAPTCHA v3 (2018) and WordPress Contact Form 7
In 2018, Google introduced reCAPTCHA v3, a version of CAPTCHA that works invisibly in the background to assess the risk of user interactions on websites. reCAPTCHA v3 assigns a risk score to each user action, allowing website owners to take appropriate action based on the perceived risk level.
A recent WordPress client messaged me “is there anyway NOT to receive anywhere from 5-10 of these a day. ” He was referencing spam messages coming from his website’s contact form. His contact page uses Contact Form 7, a popular WordPress plugin that allows website owners to easily create and manage contact forms.
I was able to easily integrate reCAPTCHA v3 by installing a 3rd party plugin. After installation, I was able to enter the site and secret keys into the WordPress dashboard. Version 3 does not require users to check any boxes or solve any challenges – it is seamless and invisible.