In 2008 I deployed my first website to production. It used a simple LAMP stack , a GoDaddy domain name, and HostGator hosting.
Since 2016, I’ve used AWS as my primary cloud provider. And this year, I’m finally cancelling my HostGator package. Looking through that old server, I found artifacts of past projects – small businesses and start-ups that I helped develop and grow. A virtual memory lane.
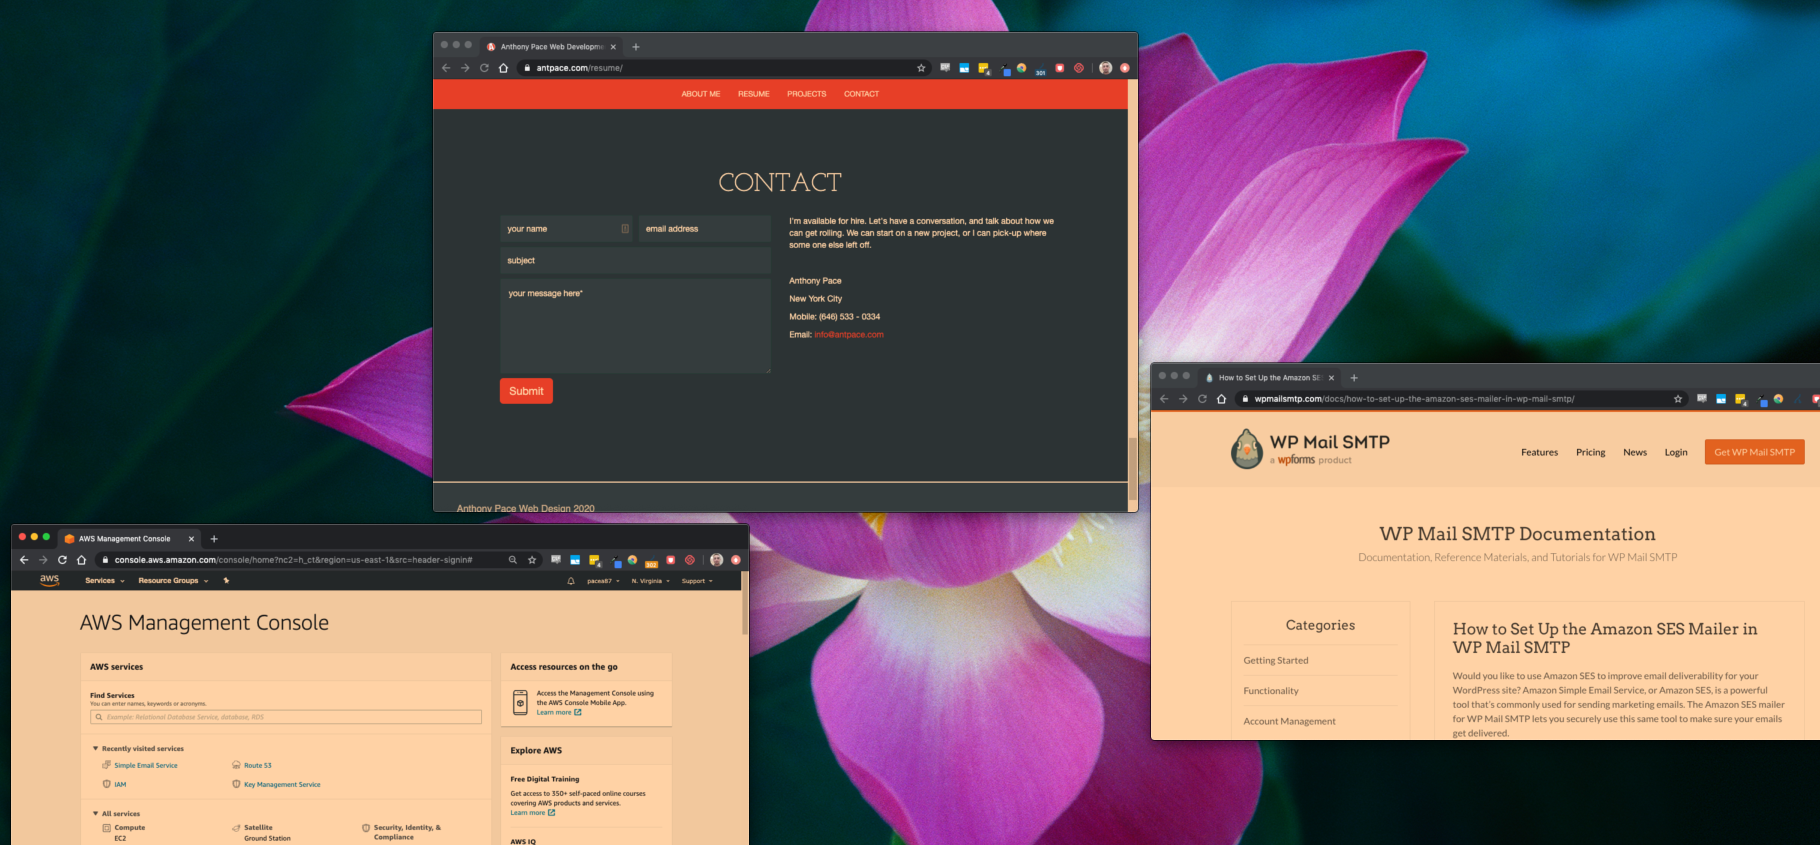
Left on that old box was a site that I needed to move to a fresh EC2 instance. This is an opportunity to document how I launch a site to Amazon Web Services.
Amazon Elastic Compute Cloud
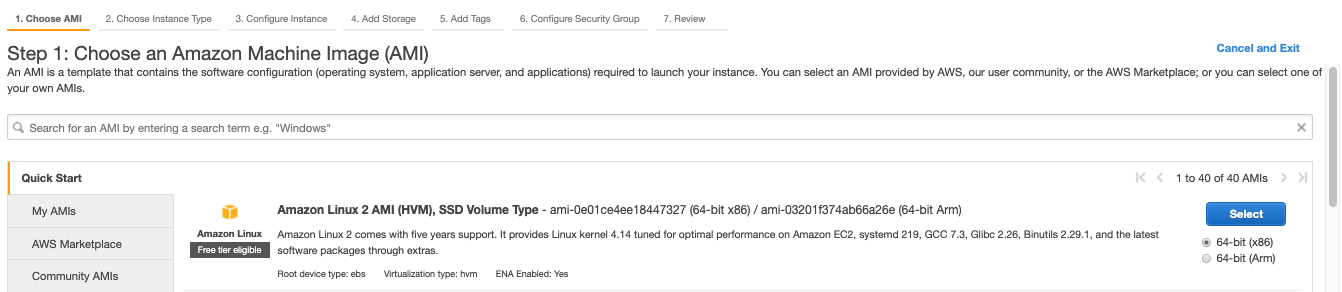
To start, I launch a new EC2 instance from the AWS console. Amazon’s Elastic Compute Cloud provides “secure and resizable compute capacity in the cloud.” When prompted to choose an Amazon Machine Image (AMI), I select “Amazon Linux 2 AMI”. I leave all other settings as default. When I finally click “Launch”, it’ll ask me to either generate a new key file, or use an existing one. I’ll need that file later to SSH or sFTP into this instance. A basic Linux server is spun up, with little else installed.
Next, I make sure that instance’s Security Group allows inbound traffic on SSH, HTTP, and HTTPS. We allow all traffic via HTTP and HTTPS (IPv4 and IPv6, which is why there are 2 entries for each). That way end-users can reach the website from a browser. Inbound SSH access should not be left wide open. Only specific IP addresses should be allowed to command-line in to the server. AWS has an option labeled “My IP” that will populate it for your machine.
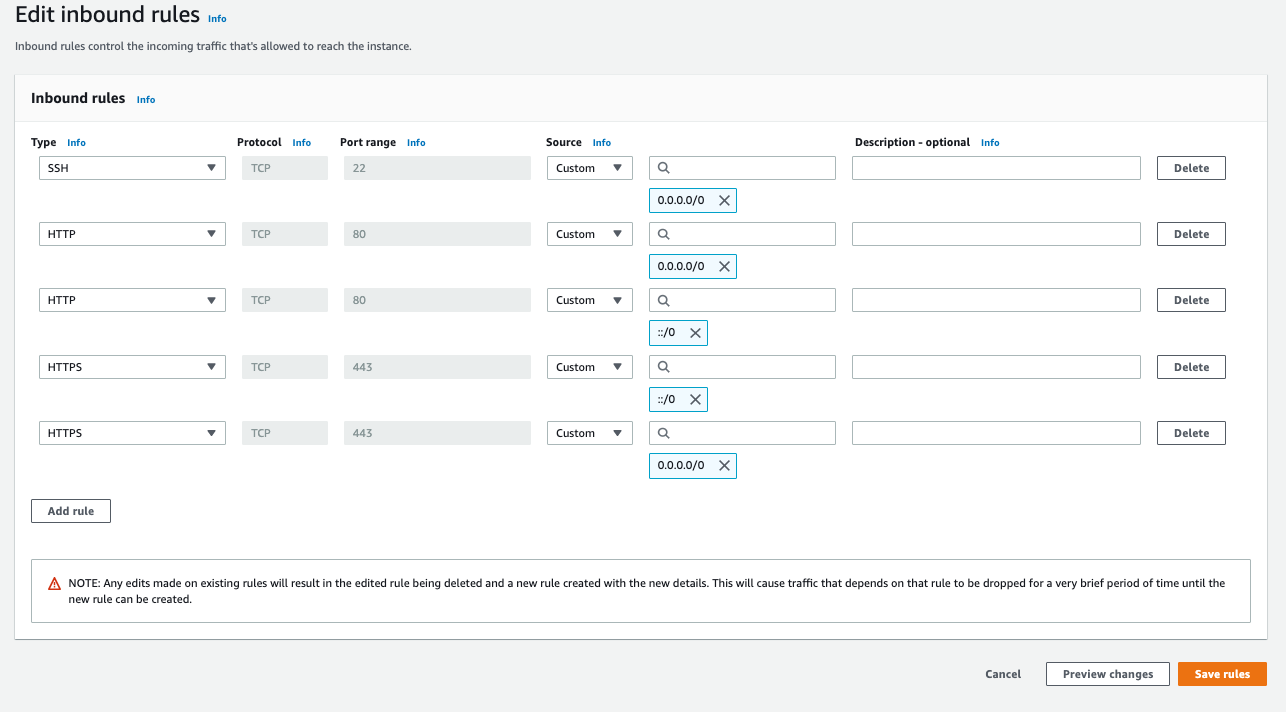
Recent AWS UI updates let you set these common rules directly from the “Launch an instance” screen, under “Network settings”

Configure the server
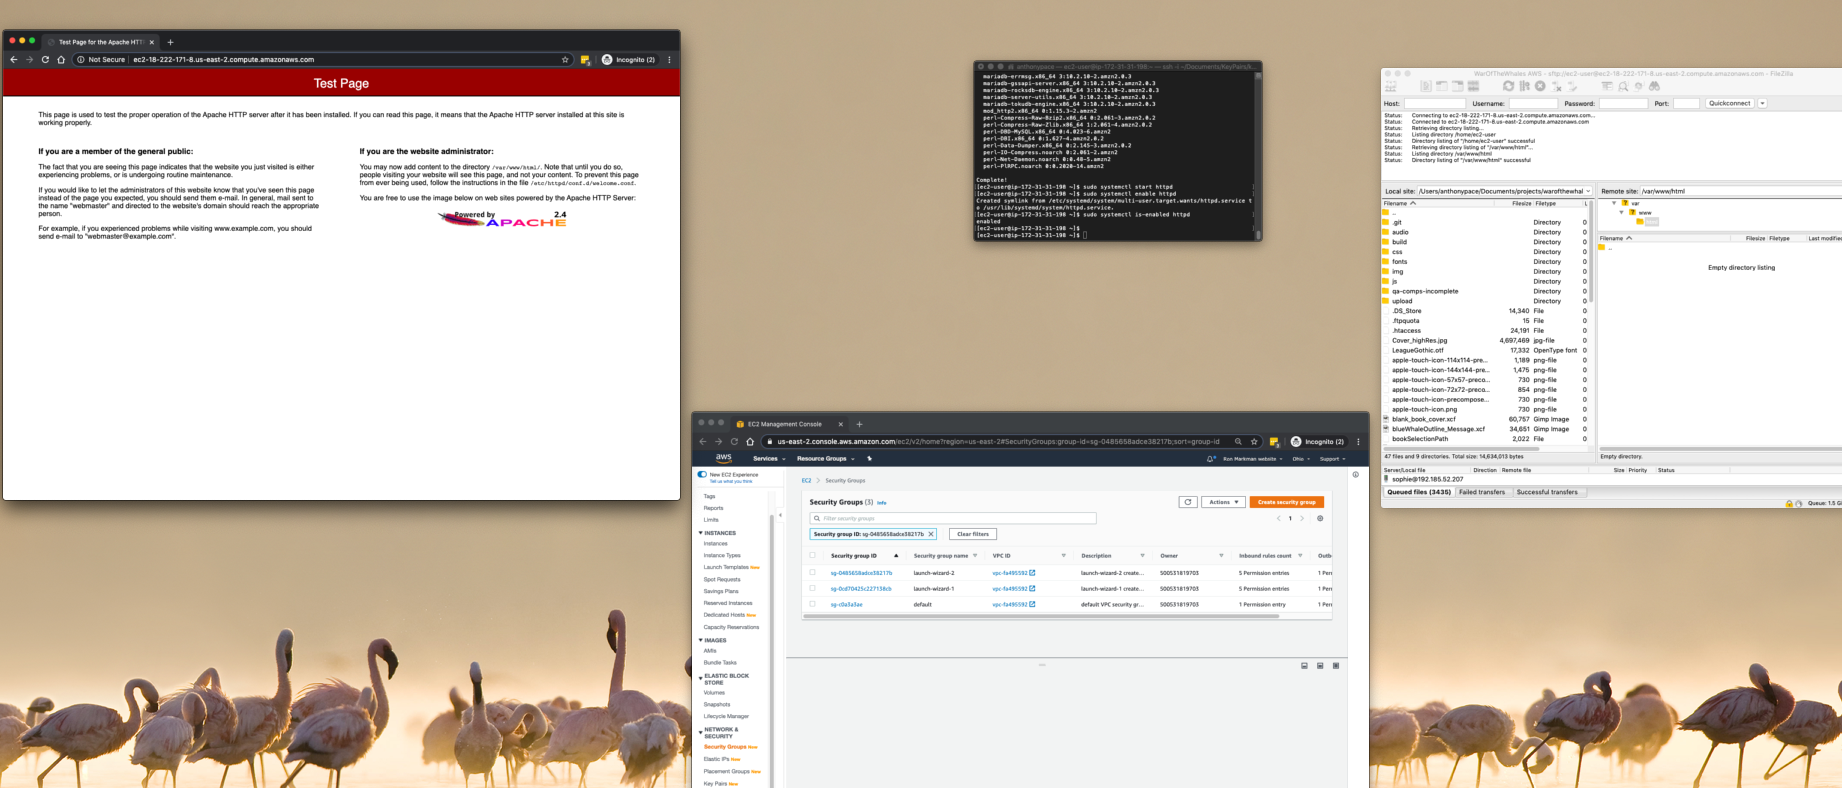
Now that the hosting server is up-and-running, I can command-line in via SSH from my Mac’s terminal using the key file from before. This is what the command looks like:
ssh -i /Users/apace/my-keys/keypair-secret.pem ec2-user@ec2-XXX-XXX-XX.us-east-2.compute.amazonaws.com
You might get a CLI error that says:
” It is required that your private key files are NOT accessible by others. This private key will be ignored. “

That just means you need to update the file permissions on the key file. You should do that from the command line, in the directory where the file resides:
chmod 400 KeyFileNameHere.pem
Make sure everything is up-to-date by running “sudo yum update“. I begin installing the required software to host a website:
sudo amazon-linux-extras install -y lamp-mariadb10.2-php7.2 php7.2
Note: amazon-linux-extras doesn’t exist on the Amazon Linux 2023 image.
That command gives me Apache, PHP, and MariaDB – a basic LAMP stack. This next one installs the database server:
sudo yum install -y httpd mariadb-server
MariaDB is a fork of the typical MySQL, but with better performance.
By default, MariaDB will not have any password set. If you choose to install phpMyAdmin, it won’t let you login without a password (as per a default setting). You’ll have to set a password from the command line. While connected to your instance via SSH, dispatch this command:
mysql -u root -p
When it prompts you for a password, just hit enter.
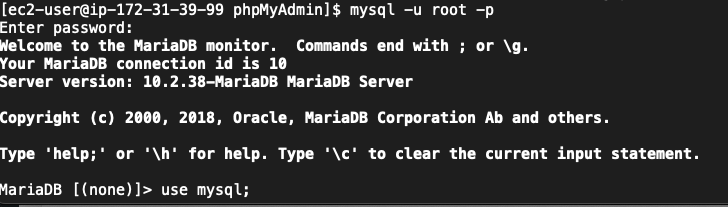
Once you’re logged in, you need to switch to the mysql database by running the following command:
use mysql;
Now you can set a password for the root user with the following command:
UPDATE user SET password = PASSWORD('new_password') WHERE user = 'root';
After setting the password, you need to flush the privileges to apply the changes:
FLUSH PRIVILEGES;
Start Apache: “sudo systemctl start httpd“. And, make sure it always starts when the server boots up “sudo systemctl enable httpd”
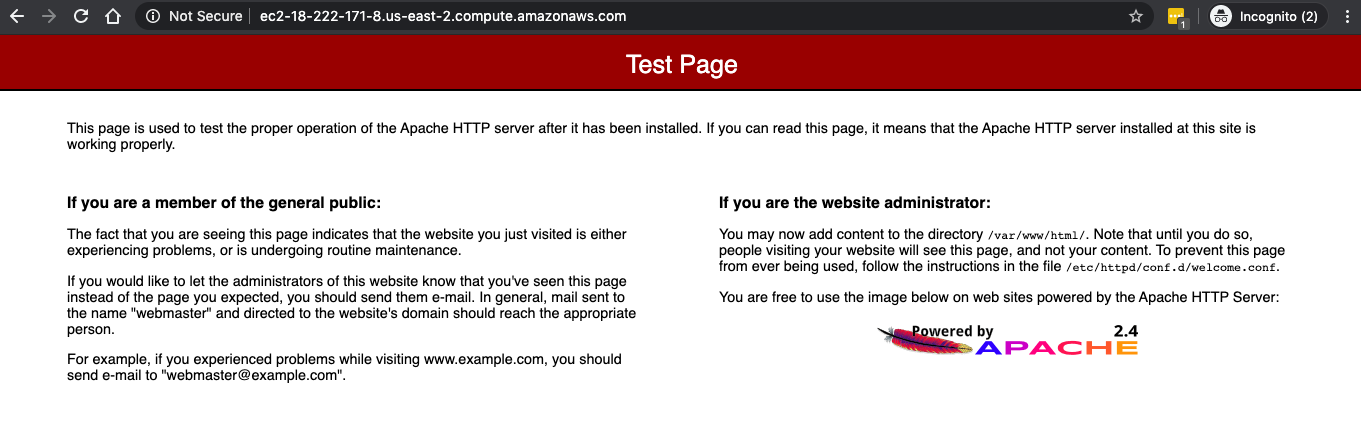
The server setup is complete. I can access an Apache test page from a web browser by navigating to the EC2 instance’s public IP address.
I’ll take my website files (that are stored on my local machine and synched to a Git repo) and copy them to the server via sFTP.

I need to make sure the Linux user I sFTP with owns the directory “/var/www/html”, or else I’ll get a permission denied error:
sudo chown -R ec2-user /var/www/html
Later, if I want to be able to upload media to the server from the WordPress CMS, I’ll need to be sure to change the owner of the blog’s directory to the apache user (which is the behind-the-scenes daemon user invoked for such things):
sudo chown -R apache /var/www/html/blog
Domain name and Route 53
Instead of having to use the EC2 server’s public address to see my website from a browser, I’ll point a domain name at it. AWS Route 53 helps with this. It’s a “DNS web service” that routes users to websites by mapping domain names to IP addresses.
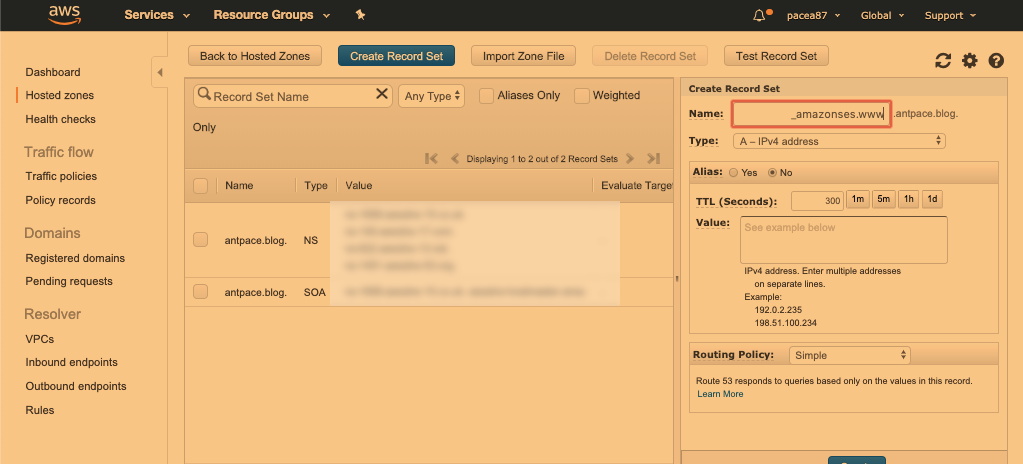
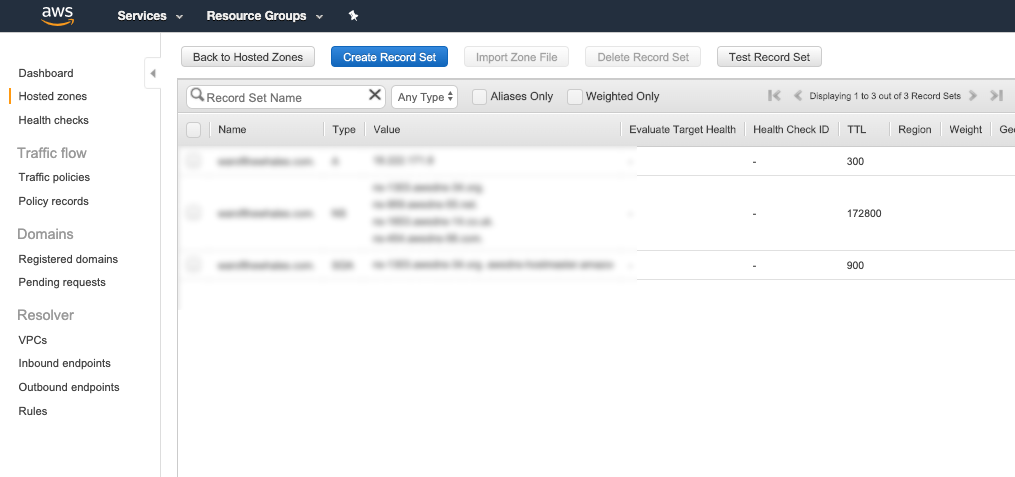
In Route 53 I create a new “hosted zone”, and enter the domain name that I’ll be using for this site. This will automatically generate two record sets: a Name Server (NS) record and a Start-of-Authority (SOA) record. I’ll create one more, an IPv4 address (A) record. The value of that record should be the public IP address that I want my domain to point at. You’ll probably also want to add another, identical to the last one, but specifying “www” in the record name.
Finally, I’ll head over to my domain name registrar, and find my domain name’s settings. I update the nameserver values there to match those in my Route 53 NS record set. It’ll likely take some time for this change to be reflected in the domain’s settings. Once that is complete, the domain name will be pointing at my new EC2 instance.
And that’s it – I’ve deployed my website to AWS. The next step is to secure my site by configuring SSL and HTTPS.