AWS Lightsail
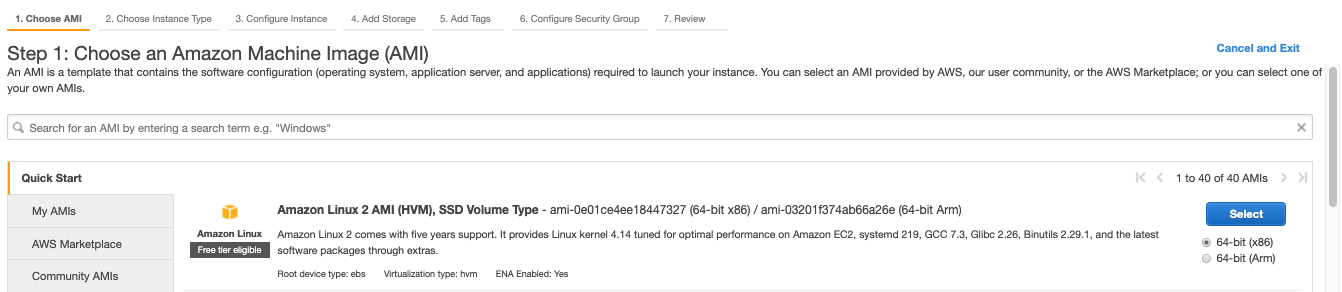
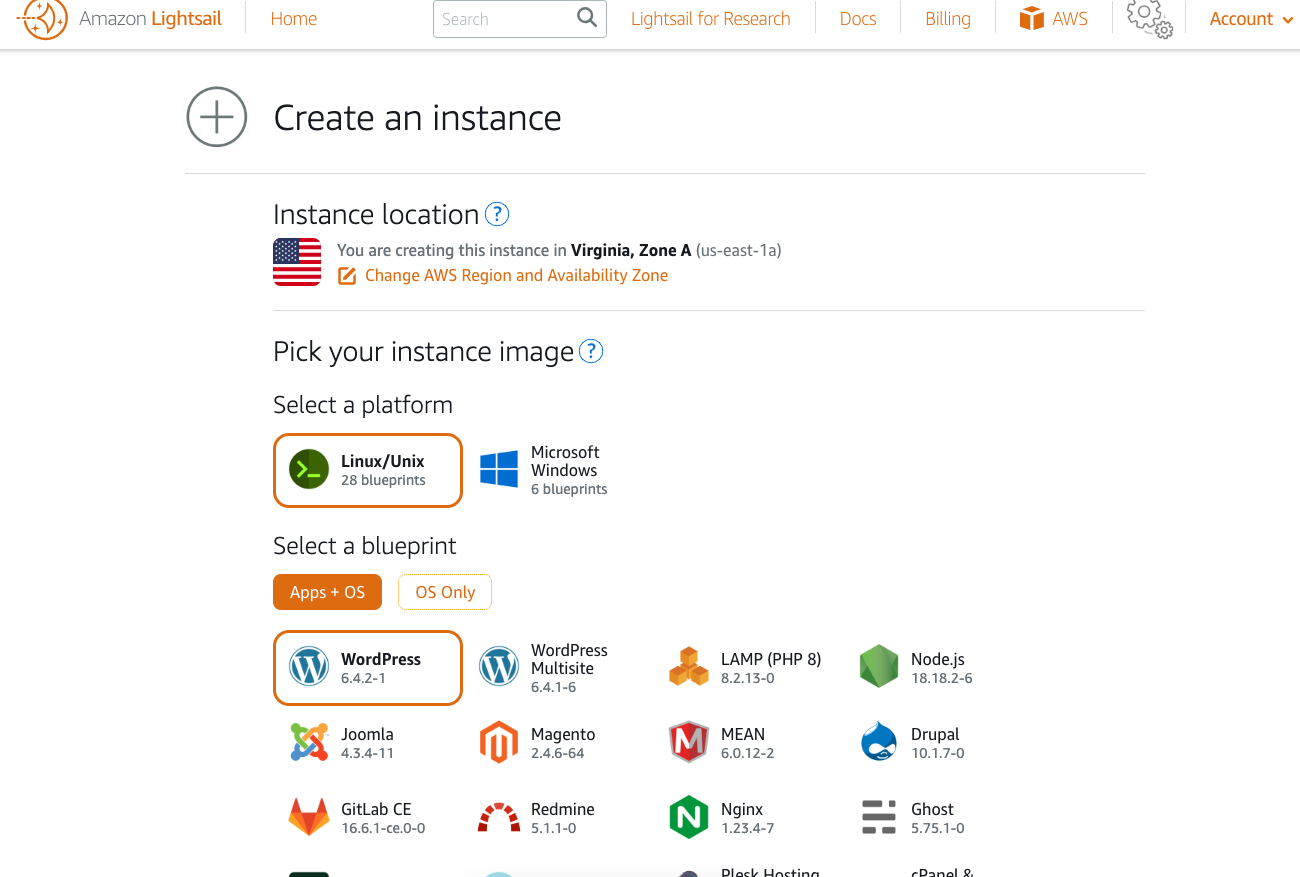
A new customer owns a theatre costume shop in Montclair, New Jersey. Like many of my clients, he had an existing website that needed to be modernized. It needed to be redesigned and responsive. This project reminded me a lot of an art website I did a few years ago. It had lots of pages, content, and images that needed to be transferred. And, like that project, I chose to use Amazon Web Services as our cloud provider and WordPress as the content management system. Last time, I installed WordPress and all of the server software manually using AWS EC2. This time I decided to use AWS Lightsail to setup a simplified cloud hosting solution. The WordPress installation uses Bitnami as the package library.
This greatly reduced the time it took to get things up and running. It also provides cost predictably (EC2 is pay as you go) and automatic backups. (When running WordPress on EC2 I would run nightly SQL dumps as a redundancy mechanism). A month before starting work on this website I purchased a new domain in my personal AWS account.
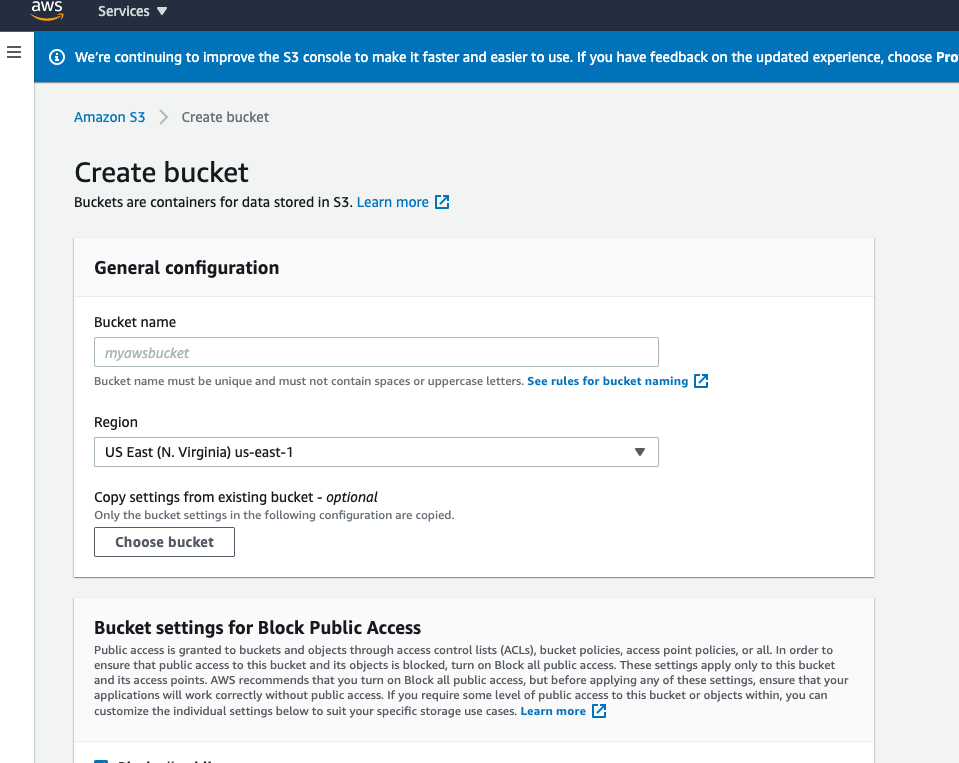
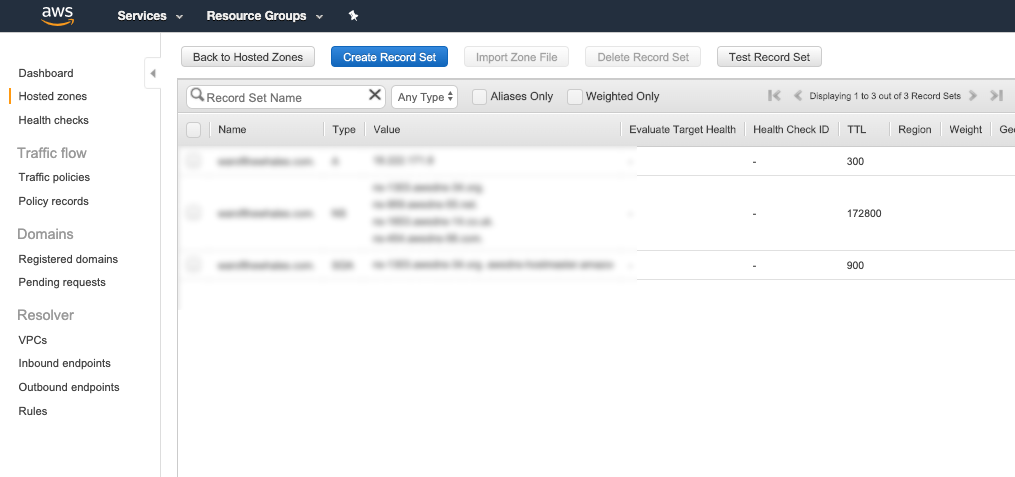
When time came to begin working, I created a new AWS account for Dan’s business. Route 53 made it easy to transfer the domain name. Then, I created a new hosted zone for that domain and pointed the A record to the Lightsail instance’s IP address. Set up was easy enough to not need a walk-through. But, just to be sure, I watched a YouTube first. I’m glad I did because the top comment mentioned “Why did you not set a static IP address before creating your A records?”
The documentation mentions that “The default dynamic public IP address attached to your Amazon Lightsail instance changes every time you stop and restart the instance”. To preempt that from being a problem, I was able to create a static IP address and attach it to the instance. I updated the A record to use that new address.
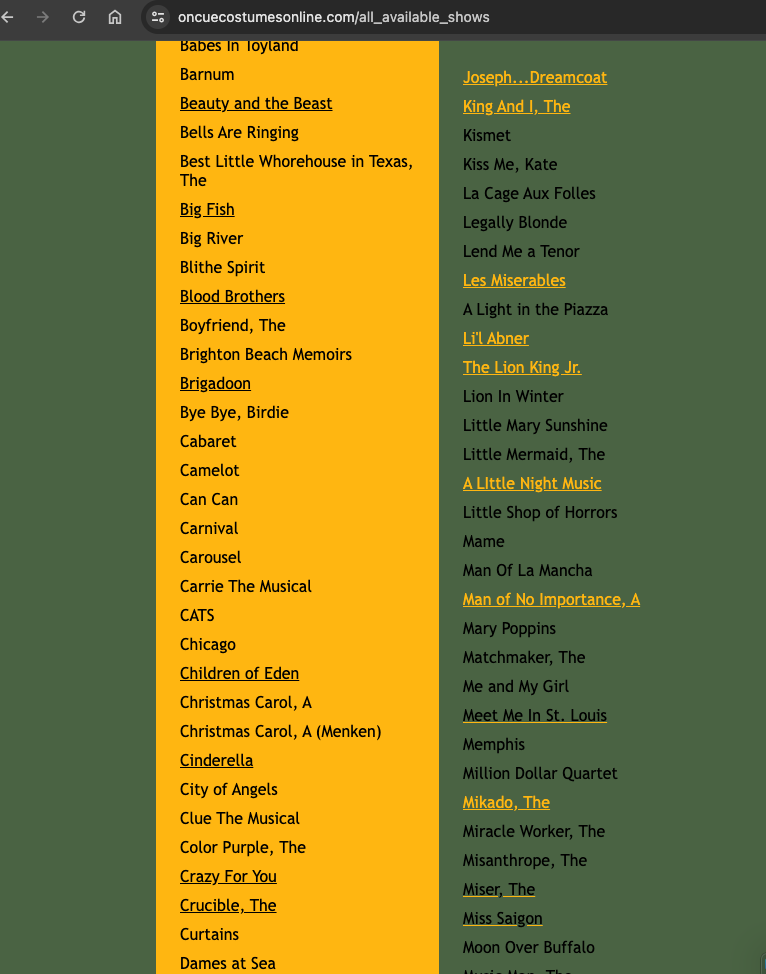
Here is a before shot of the business’s website:

WordPress Gutenberg
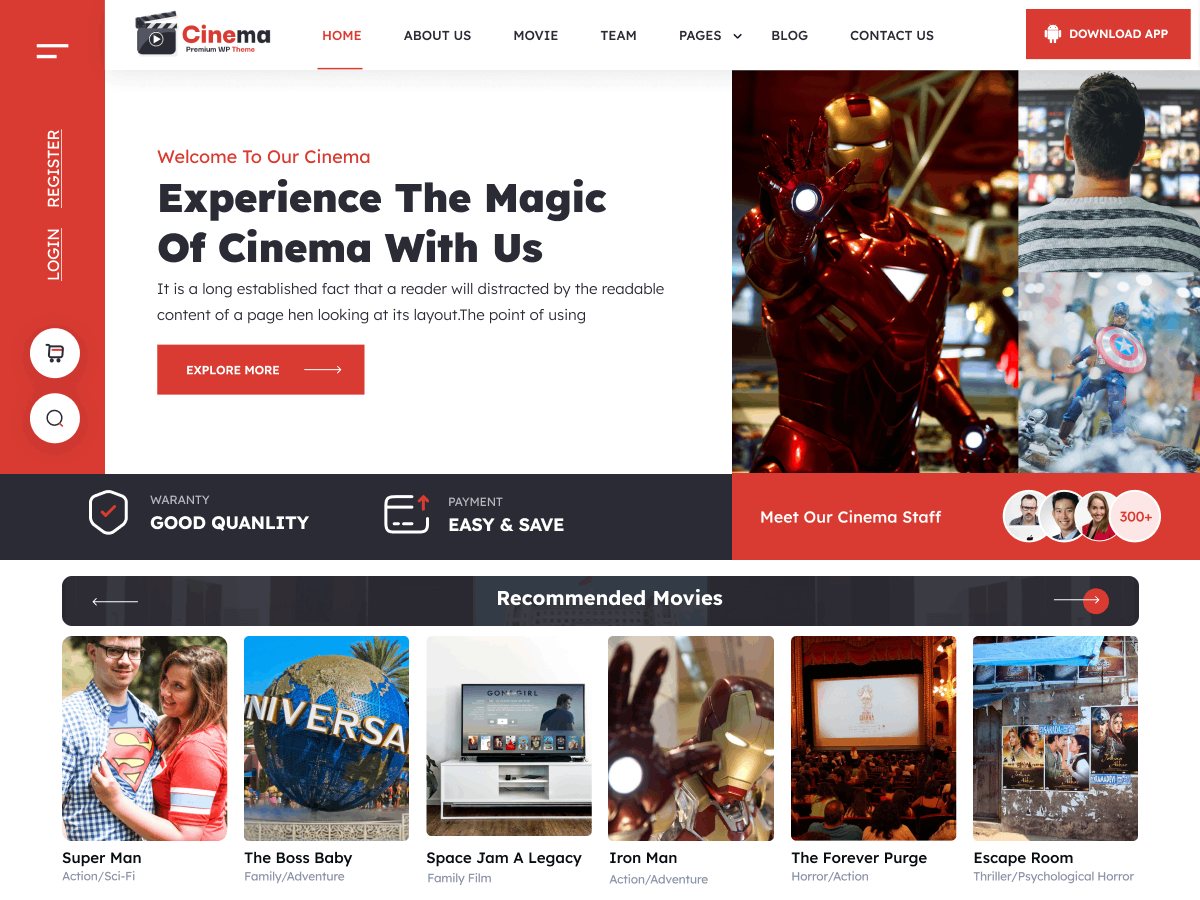
Now that the infrastructure was set up, I was able to login to wp-admin. The Lightsail dashboard gives you the default credentials along with SSH access details. I used a premium theme called “Movie Cinema Blocks”. It has an aesthetic that fit the theatre look and made sense for this business.
The Gutenberg editor made it easy to craft the homepage with essential information and photos. The theme came with a layout pattern that I adjusted to highlight the content in a meaningful way. In a few places where I wanted to combine existing photos , I used the built in collage utility found in the Google Photos web app.
I created a child-theme after connecting via sFTP and edited the templates to remove the comment sections. I added custom CSS to keep things responsive:
@media(max-width: 1630px){
	.navigation-column .wp-block-navigation{
		justify-content: center !important;
	}
}
@media(max-width: 1550px){
	.navigation-columns .menu-column{
		flex-basis: 45% !important;
	}
}

@media(max-width: 1000px){
	 .hide-on-mobile{
		 display: none
	 }
	.navigation-columns{
		flex-wrap: wrap !important;
	}

	.navigation-column{
		flex-basis: 100% !important;
    	flex-grow: 1 !important;
	}
	.navigation-column h1{
		text-align: center;
	}
	.navigation-column .header-download-button{
		justify-content: center !important;
	}
	.navigation-column .wp-block-navigation a{
		font-size: 14px;
	}
}

@media (min-width: 1000px) {
    .hide-on-desktop {
        display: none !important;
    }
}

.homepage-posts img{
	border-radius: 10px;
}
.homepage-posts a{
	text-decoration: none;
}

@media (max-width: 780px) {
	.mobile-margin-top{
		margin-top: 32px !important;
	}
}

h6 a{
	text-decoration:none !important;
}

.entry-content a{
	text-decoration: none !important;
}

input[type="search"]{
       background-color: white !important;
}
I kept the existing color palette and I used a free web font, called Peace sans, for the site logo:
@font-face {
  font-family: 'peacesans';
  src: url('https://www.oncuecostumes.com/wp-content/themes/movie-cinema-blocks/assets/fonts/peacesans.ttf') format('truetype');
  font-weight: normal;
  font-style: normal;
}

.logo-font {
  font-family: 'peacesans', Lexend Deca, sans-serif;
}
The biggest challenge was importing all of the content from the existing website. We added each costume show as a post and used categories for taxonomy. The “Latest Posts” block in Gutenberg allowed us to showcase the content organized by that classification.
The original website displayed a simple list of all records. It has separate pages only for shows that have images. Others are just listed as plain text. After manually adding all of the hyperlinked content, over one-hundred remained that were only titles.
To remove the hyperlinked entries, so that I could copy/paste the rest, I used some plain JavaScript in the browser console:
// Get all anchor elements
const allLinks = document.getElementsByTagName('a');

// Convert the HTMLCollection to an array for easier manipulation
const linksArray = Array.from(allLinks);

// Remove each anchor element from the DOM
linksArray.forEach(link => {
    link.parentNode.removeChild(link);
});
It was easier to copy the remaining entries from the DOM inspector than it was from the UI. But that left me with <li> markup that needed to be deleted on every line. I pasted the result into Sublime Text, used the Selection -> Split into Lines control to clean up all at once, and found an online tool to quickly remove all empty lines. I saved it as a plain text file. Then, I used a plugin called “WordPress Importer” to upload each title as an empty post.
Contact Form Email
The contact page needed to have a form that allows users to send a message to the business owner. To create the form, I used the “Contact Form 7” plugin. “WP Mail SMTP” let us integrate AWS SES to power the transactional messages. Roadblocks arose during this integration.
Authoritative Hosted Zone
The domain verification failed even though I added the appropriate DKIM CNAME records to the hosted zone I created in this new account. At this point, I still needed to verify a sending address. This business used a @yahoo account for their business email. I decided to use AWS WorkMail to create a simple info@ inbox. (In the past, Google Workspace has been my go-to). This gave me a pivotal clue to resolving the domain verification problem.
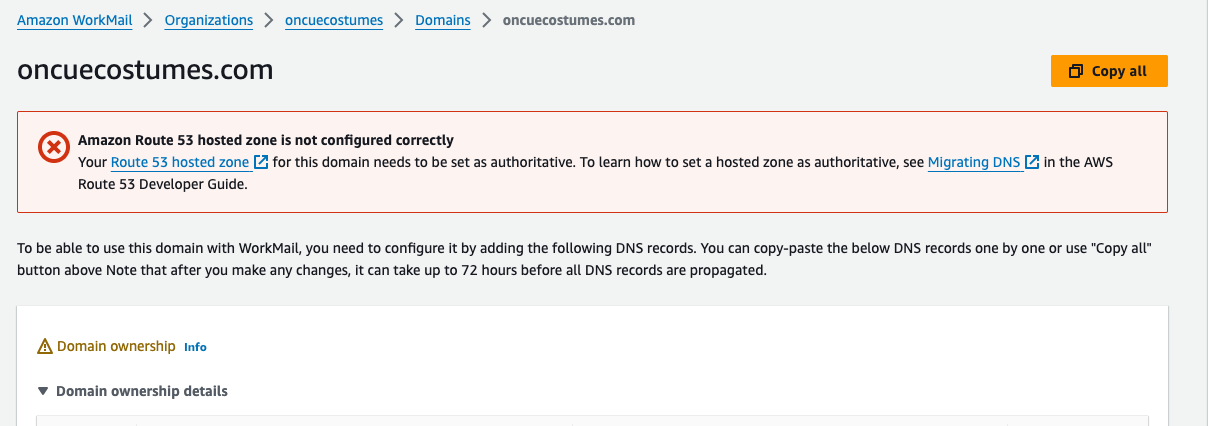
At the top of the WorkMail domain page, it warned that the domain’s hosted zone was not authoritative. It turns out, that after I transferred this domain from my personal account to the new one the nameserver records continued to point to the old hosted zone. I deleted the hosted zone in the origin account, and updated the NS records on the domain in the new account to point to the new hosted zone. Minutes later, the domain passed verification.
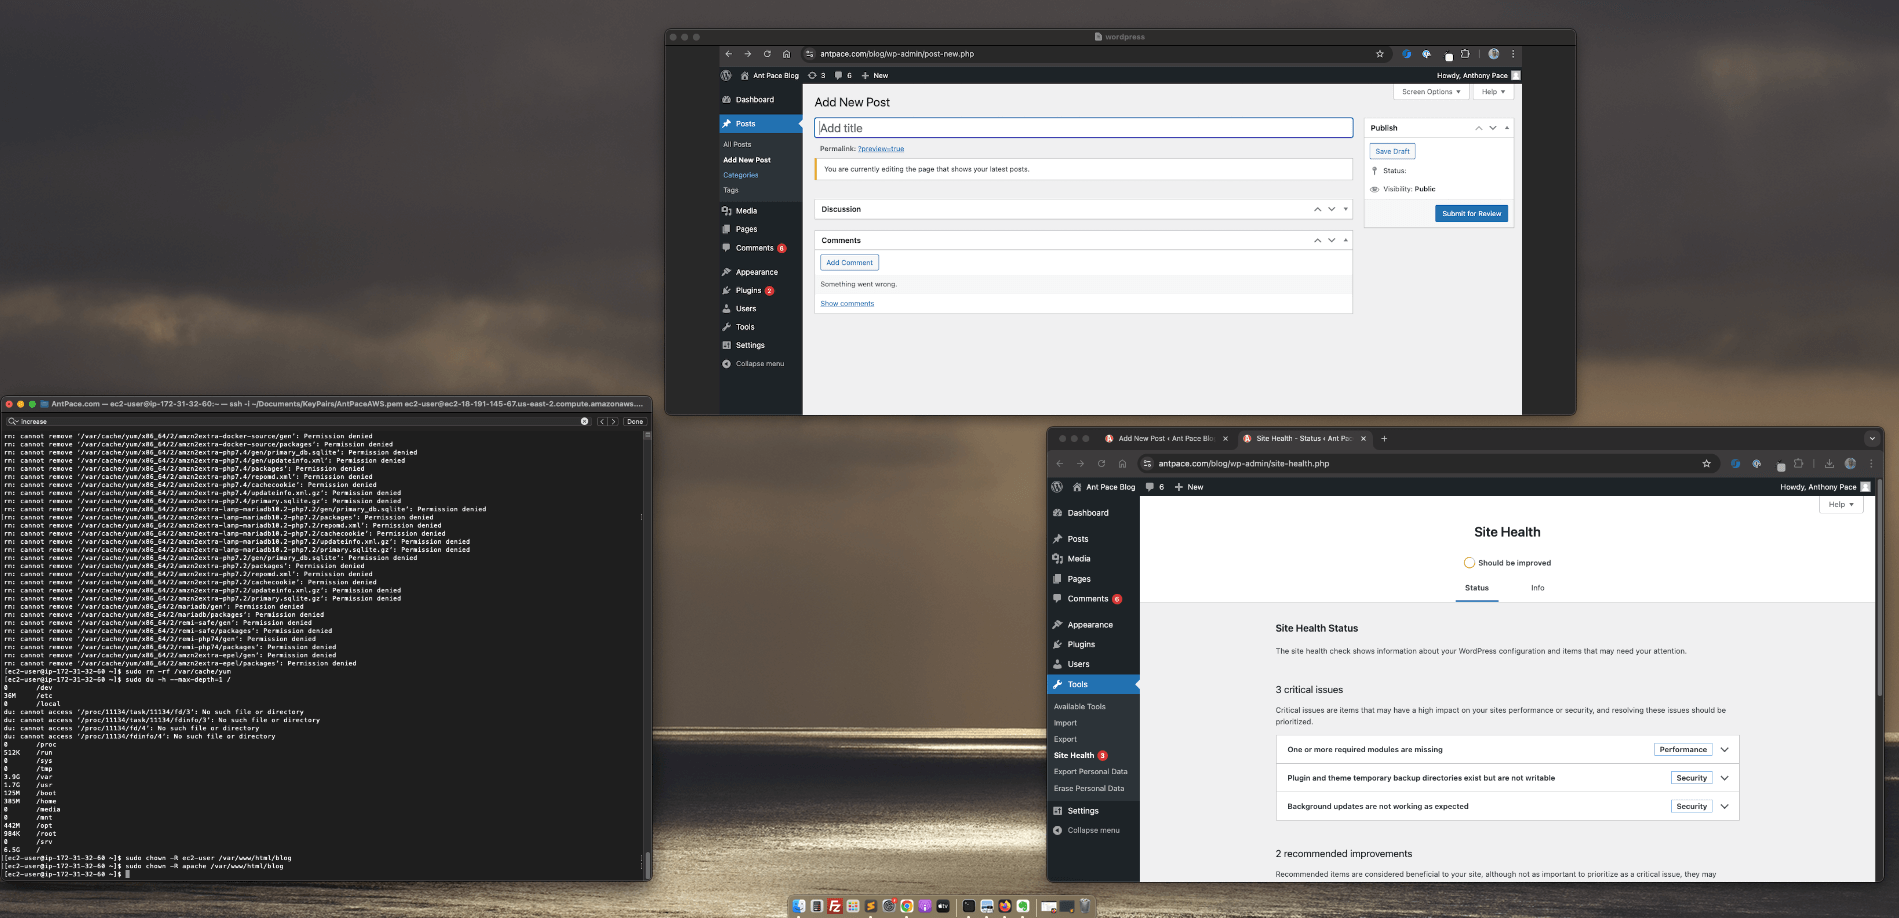
Sandbox limits
The initial SES sandbox environment has sending limits – only 200 per day and only to verified accounts. Since messages were only being sent to the business owner, we could have just verified his receiving email address. The main issue was that the default WordPress admin email address was literally user@example.com. When I tried updating this to a verified address, WordPress would also try to send an email to user@example.com, causing SES to fail. I requested production access, and in the mean time tried to update that generic admin address in the database directly.
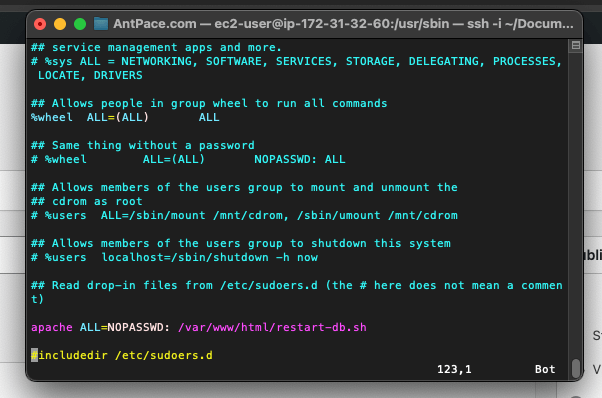
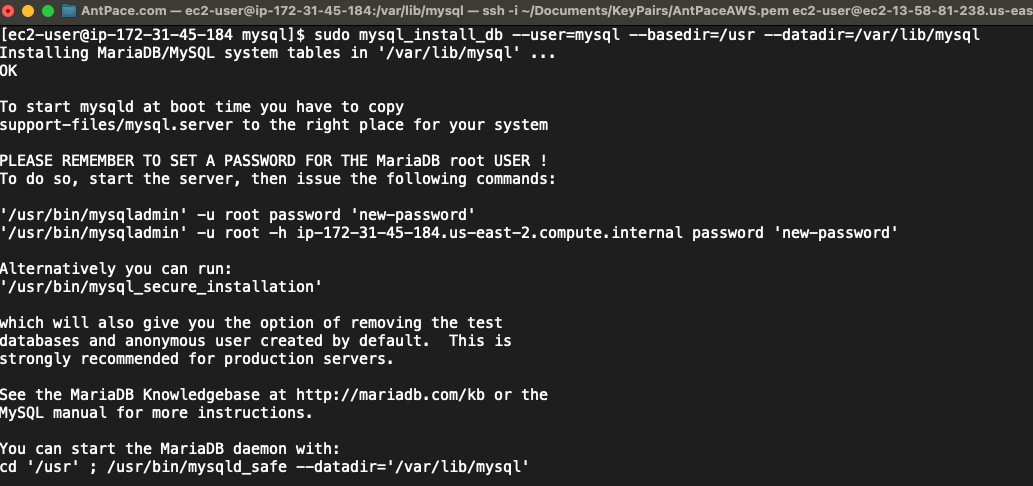
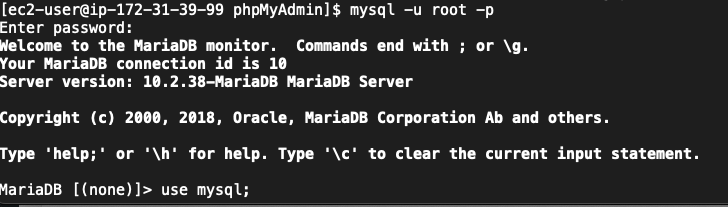
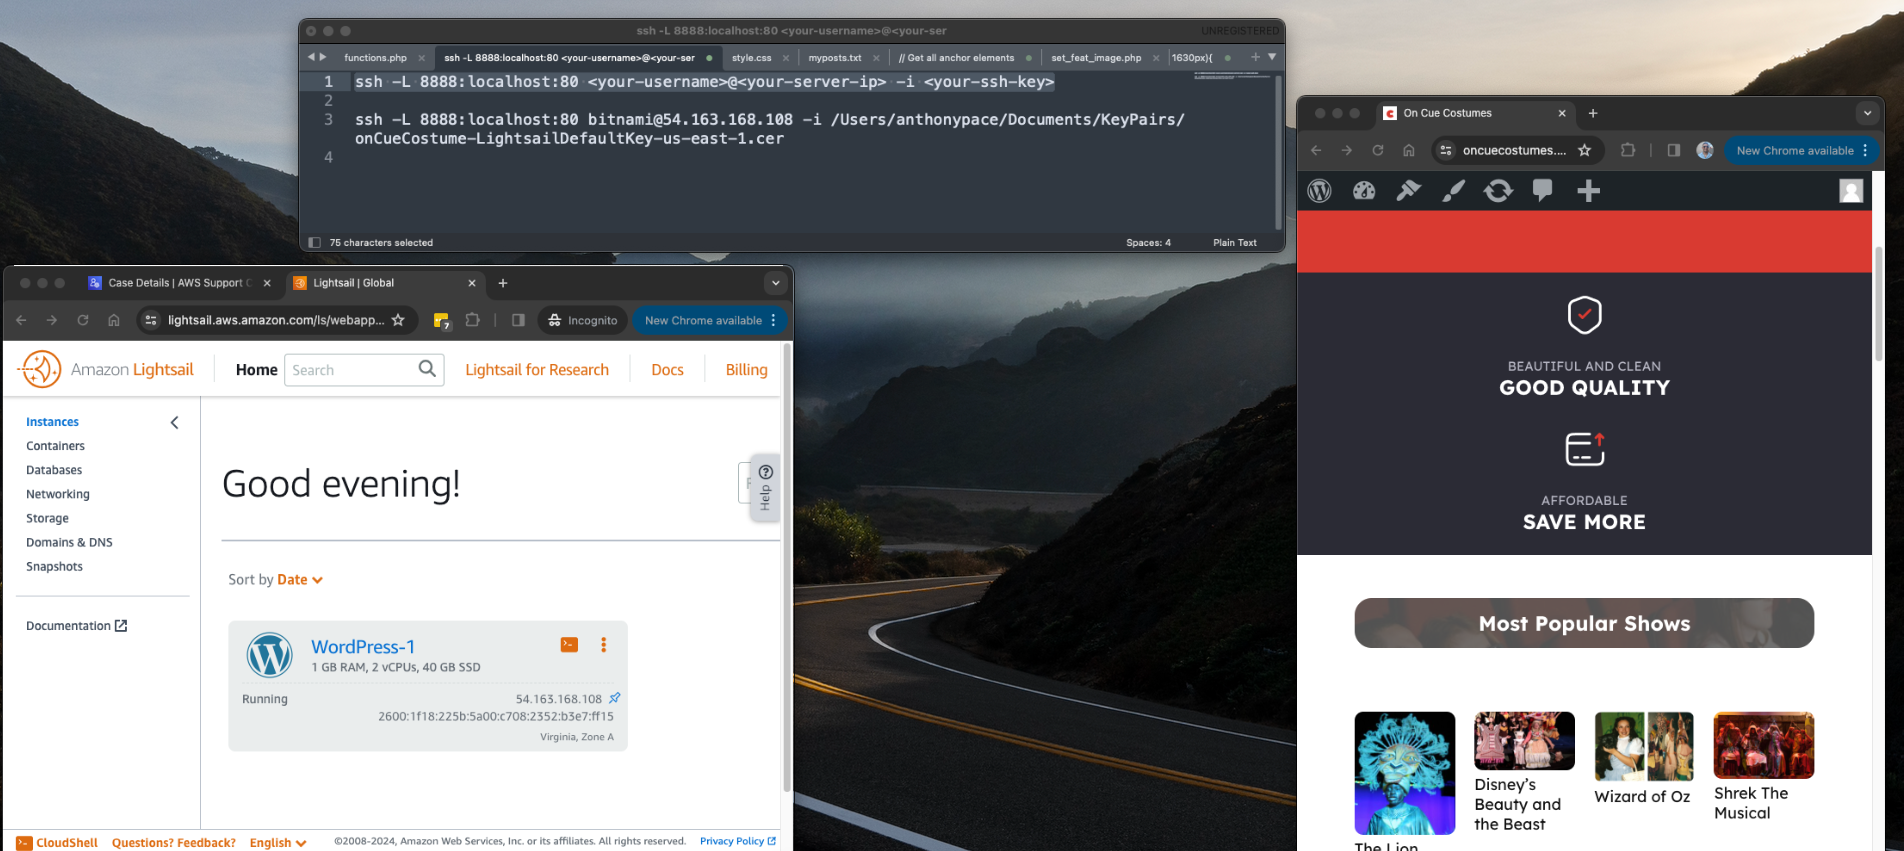
SSH Tunnel and Database Access
When looking at the server files in FileZilla, I noticed that phpMyAdmin was installed. I tried to access it from a web browser, but it warned that it was only accessible from localhost. I set up an SSH tunnel to access phpMyAdmin through my computer. From my Mac Terminal, I commanded:
ssh -L 8888:localhost:80 <your-username>@<your-server-ip> -i <your-ssh-key>
It told me that there was a bad permissions issue with the key file (even though this was the same file I had been using for sFTP). I fixed it from the command line:
chmod 600 onCueCostume-LightsailDefaultKey-us-east-1.cer
Once connected, I could access the server’s installation of phpMyAdmin from this browser URL: `http://localhost:8888/phpmyadmin`
Presented with a login screen, I didn’t know what credentials to use. From the Lightsail dashboard I connected to the server via web terminal. I looked up the MySql password with this command: `cat /home/bitnami/bitnami_credentials`
I assumed the username would be root – but no, it turned out to be user.
Production Access
After requesting production access, AWS responded, “It looks like we previously increased the sending limits for at least one other AWS account that you do not appear to be using. Before we make a decision about your current request, we would like to know why you cannot send from your existing unused account.”
What did this mean? I think it happened because I used my credit card on this new account, before switching it over to the business owner. This probably set off an automatic red flag on their end. Interestingly, the correspondence said “To protect our methods, we cannot provide any additional information about how we identified the related accounts.”
I responded and explained the situation honestly, “I am not aware of another account that I am not using. I do have my own AWS account for my web design business, but it is unrelated to this account – and it is not unused.” Within a few hours, production access was granted.
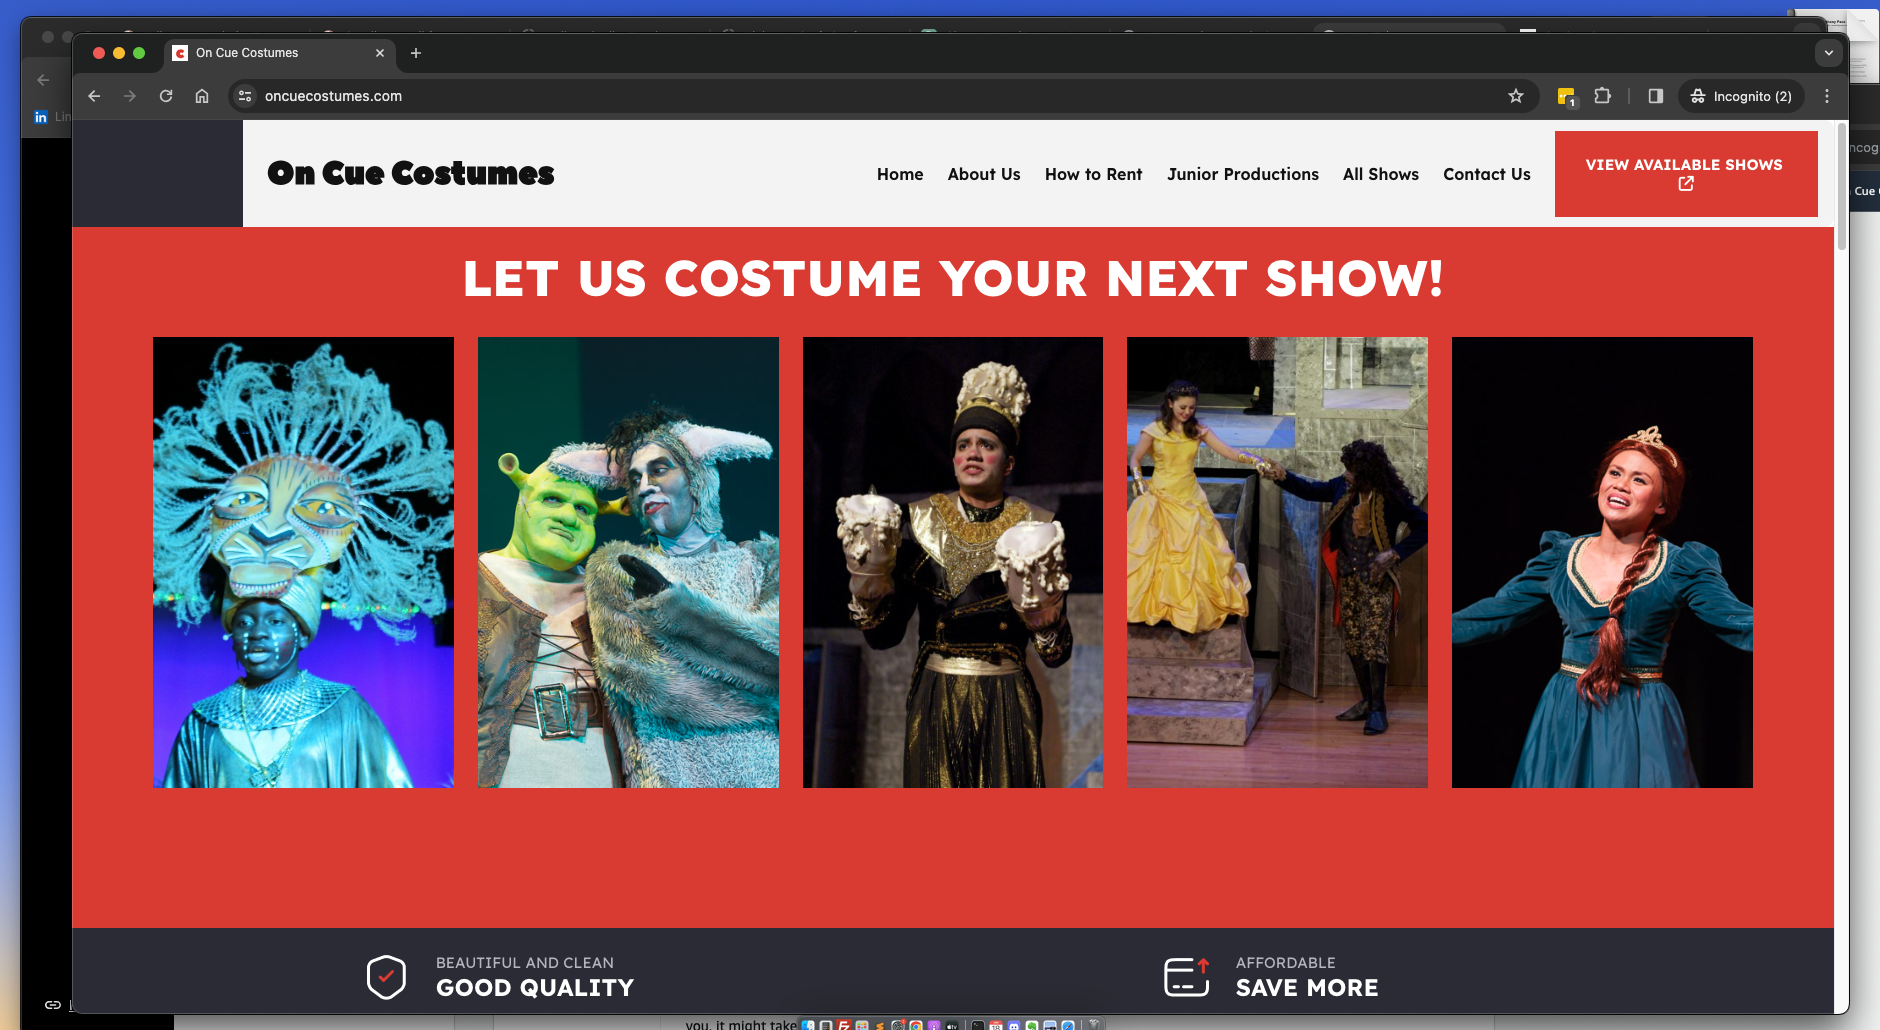
New Website
The original scope of this project was to build a new website showcasing content that already existed. We were able to finalize the layout and design quickly. Here is a screenshot of the homepage:
To write this article, I referred to my ChatGPT chat log as a source of journal notes.
Adding SSL Certificate for HTTPS
The Bitnami installation comes with a tool `bncert-tool` that handles everything. It even sets up redirects to ensure your site always uses the secure HTTPS protocol. Refer to this AWS documentation: “Enable HTTPS on your WordPress instance in Lightsail“. You can run it from the command line interface. If it is not already installed you can download it: `wget -O bncert-linux-x64.run https://downloads.bitnami.com/files/bncert/latest/bncert-linux-x64.run`
At first, I tried installing the certs manually, using Let’s Encrypt – which was a bad idea. I encountered a problem resulting in a mismatch between the SSL certificate (server.crt) and the private key (server.key). This prevented Apache from restarting (panic). I was able to resolve the problem by generating a new self-signed certificate (relief). Make sure you take back-ups and snapshots before messing with anything via command line.
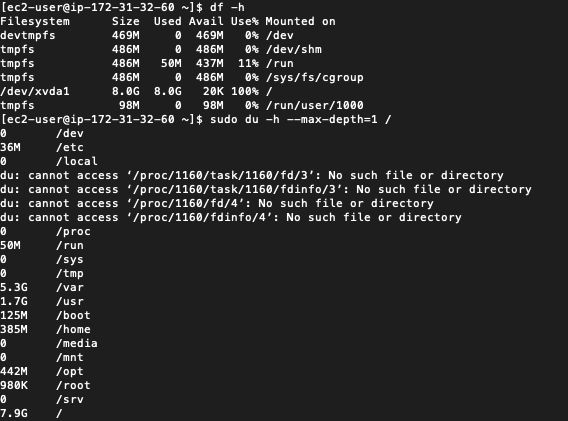
Snapshots
Lightsail allows for manual and automatic snapshots. My WordPress installation was about 40 gigabytes. Storage costs five cents per gigabyte – which is about two dollars per month to store a single snapshot.