I have had some lousy luck with databases. In 2018, I created a fitness app for martial artists, and quickly gained over a hundred users in the first week. Shortly after, the server stopped resolving and I didn’t know why. I tried restarting it, but that didn’t help. Then, I stopped the EC2 instance from my AWS console. Little did I know, that would wipe the all of the data from that box. Ouch.
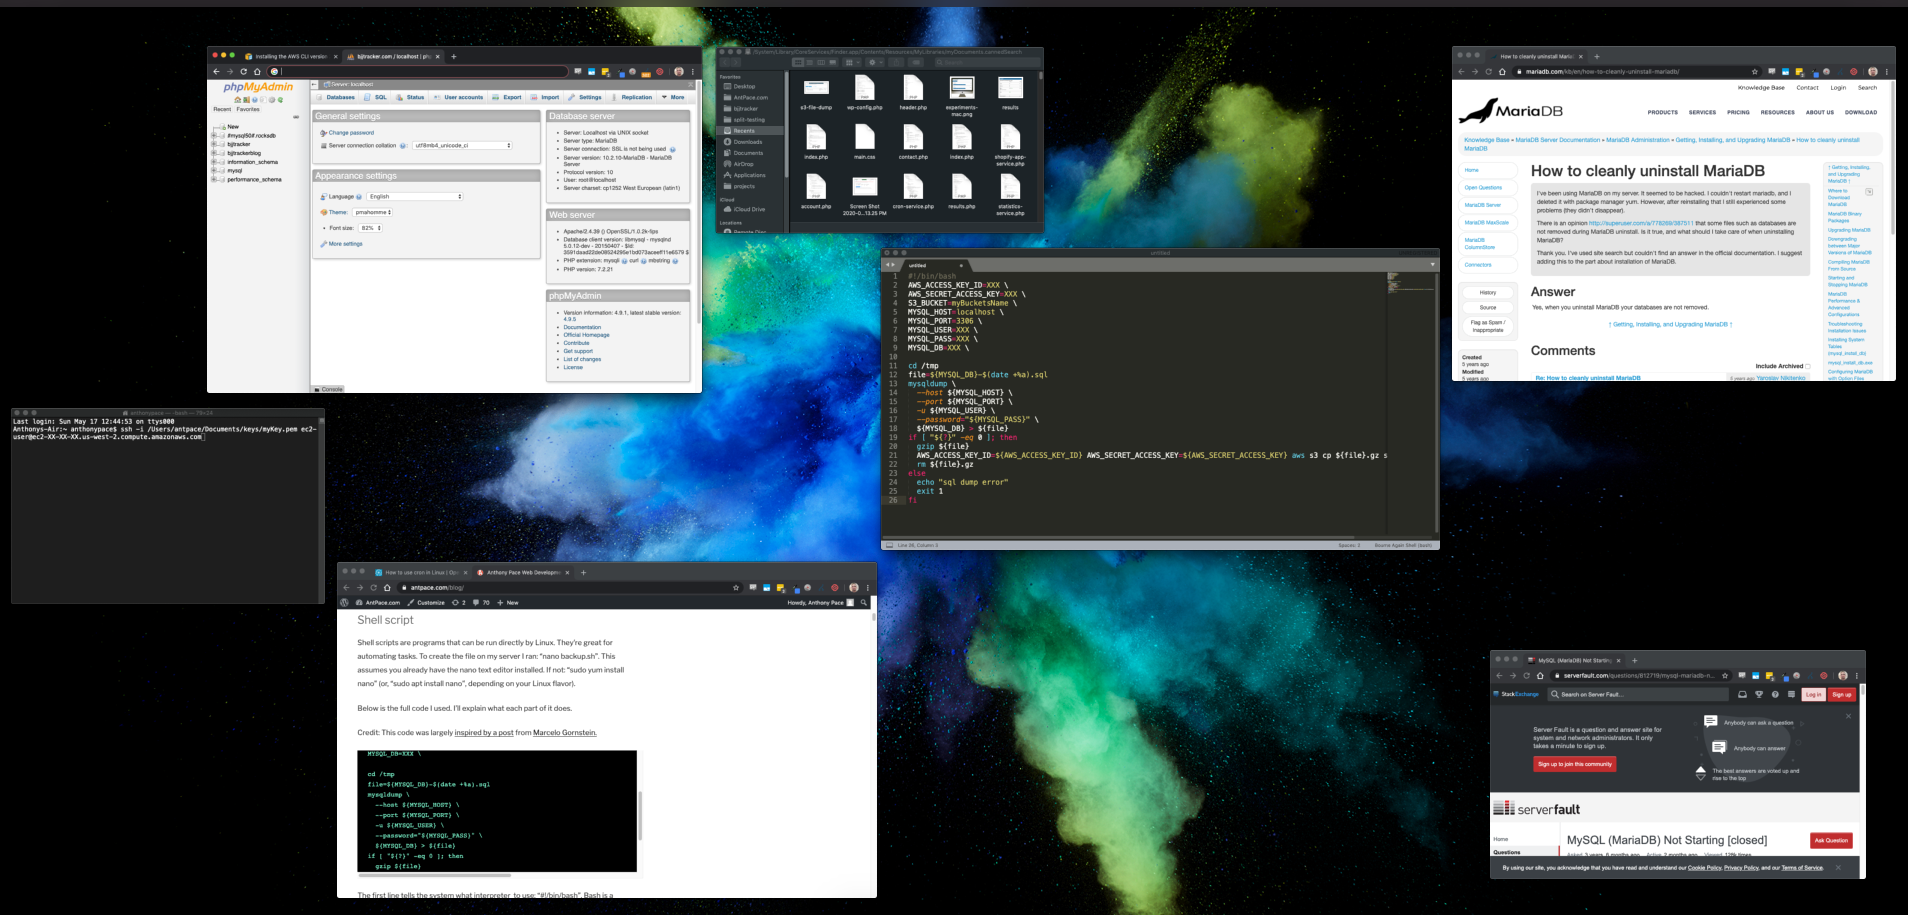
Recently, a client let me know that their site wasn’t working. A dreaded “error connecting to the database” message was all that resolved. I’d seen this one before – no sweat. Restarting the database usually does the trick: “sudo service mariadb restart”. The command line barked back at me: “Job for mariadb.service failed because the control process exited with error code.”
Uh-oh.
The database was corrupted. It needed to be deleted and reinstalled. Fortunately, I just happen to have a SQL dump for this site saved on my desktop. This was no way to live – in fear of the whims of servers.
Part of the issue is that I’m running MySQL on the same EC2 instance as the web server. A more sophisticated architecture would move the database to RDS. This would provide automated backups, patches, and maintenance. It also costs more.
To keep cost low, I decided to automate MySQL dumps and upload to an S3 bucket. S3 storage is cheap ($0.20/GB), and data transfer from EC2 is free.
Deleting and Reinstalling the Database
If your existing database did crash and become corrupt, you’ll need to delete and reinstall it. To reset the database, I SSH’d into my EC2 instance. I navigated to `/var/lib/mysql`
cd /var/lib/mysql
Next, I deleted everything in that folder:
sudo rm -r *
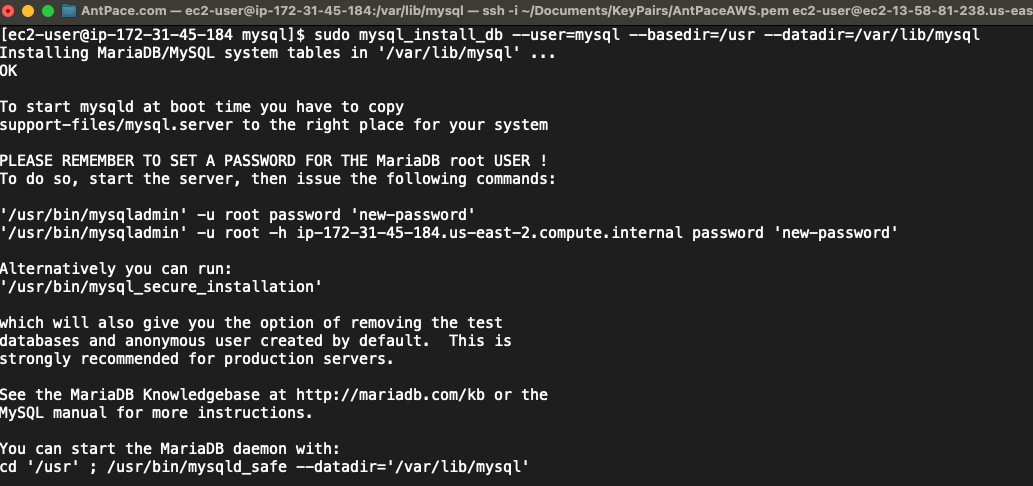
Finally, I ran a command to reinitialize the database directory
mysql_install_db --user=mysql --basedir=/usr --datadir=/var/lib/mysql
Reference: https://serverfault.com/questions/812719/mysql-mariadb-not-starting
Afterwards, you’ll be prompted to reset the root password.
You’ll still need to import your sql dump backups. I used phpMyAdmin to do that.
Scheduled backups
AWS Setup
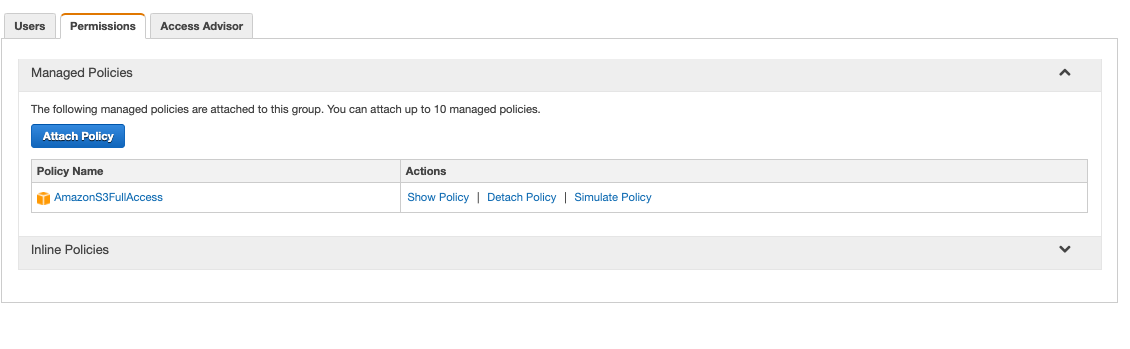
The first step was to get things configured in my Amazon Web Services (AWS) console. I created a new S3 bucket. I also created a new IAM user, and added it to a group that included the permission policy “AmazonS3FullAccess”.
I went to the security credentials for that user, and copied down the access key ID and secret. I would use that info to access my S3 bucket programatically. All of the remaining steps take place from the command line, via SSH, against my server. From a Mac terminal, you could use a command like this to connect to an EC2 instance:
ssh -i /Users/antpace/Documents/keys/myKey.pem ec2-user@ec2-XX-XX-XX.us-west-2.compute.amazonaws.com
Once connected, I installed the software to allow programatic access to AWS:
curl "https://awscli.amazonaws.com/awscli-exe-linux-x86_64.zip" -o "awscliv2.zip"
unzip awscliv2.zip
sudo ./aws/install
Here is the reference for installing the AWS CLI on Linux.
Shell script
Shell scripts are programs that can be run directly by Linux. They’re great for automating tasks. To create the file on my server I ran: “nano backup.sh”. This assumes you already have the nano text editor installed. If not: “sudo yum install nano” (or, “sudo apt install nano”, depending on your Linux flavor).
Below is the full code I used. I’ll explain what each part of it does.
Credit: This code was largely inspired by a post from Marcelo Gornstein.
#!/bin/bash
AWS_ACCESS_KEY_ID=XXX \
AWS_SECRET_ACCESS_KEY=XXX \
S3_BUCKET=myBucketsName \
MYSQL_HOST=localhost \
MYSQL_PORT=3306 \
MYSQL_USER=XXX \
MYSQL_PASS=XXX \
MYSQL_DB=XXX \

cd /tmp
file=${MYSQL_DB}-$(date +%a).sql
mysqldump \
  --host ${MYSQL_HOST} \
  --port ${MYSQL_PORT} \
  -u ${MYSQL_USER} \
  --password="${MYSQL_PASS}" \
  ${MYSQL_DB} > ${file}
if [ "${?}" -eq 0 ]; then
  gzip ${file}
  AWS_ACCESS_KEY_ID=${AWS_ACCESS_KEY_ID} AWS_SECRET_ACCESS_KEY=${AWS_SECRET_ACCESS_KEY} aws s3 cp ${file}.gz s3://${S3_BUCKET}
  rm ${file}.gz
else
  echo "sql dump error"
  exit 1
fi
The first line tells the system what interpreter to use: “#!/bin/bash”. Bash is a variation of the shell scripting language. The next eight lines are variables that contain details about my AWS S3 bucket, and the MySQL database connection.
After switching to a temporary directory, the filename is built. The name of the file is set to the database’s name plus the day of the week. If that file already exists (from the week previous), it’ll be overwritten. Next, the sql file is created using mysqldump and the database connection variables from above. Once that operation is complete, then we zip the file, upload it to S3, and delete the zip from our temp folder.
If the mysqldump operation fails, we spit out an error message and exit the program. (Exit code 1 is a general catchall for errors. Anything other than 0 is considered an error. Valid error codes range between 1 and 255.)
Before this shell script can be used, we need to change its file permissions so that it is executable: “chmod +x backup.sh”
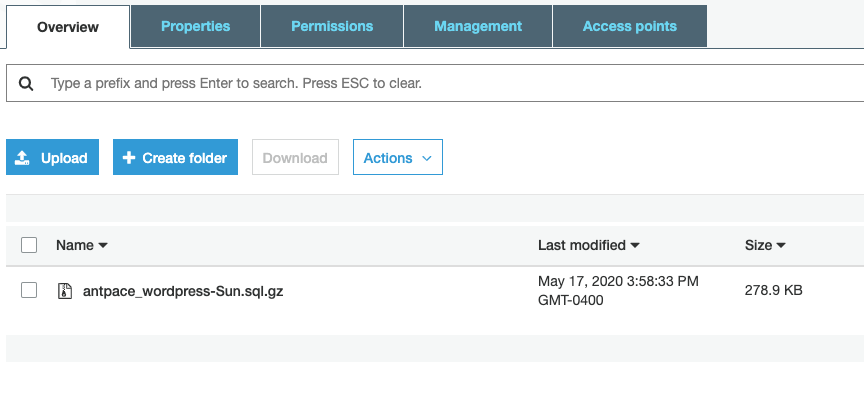
After all of this, I ran the file manually, and made sure it worked: “./backup.sh”
Sure enough, I received a success message. I also checked the S3 bucket and made sure the file was there.
Scheduled Cronjob
The last part is to schedule this script to run every night. To do this, we’ll edit the Linux crontab file: “sudo crontab -e”. This file controls cronjobs – which are scheduled tasks that the system will run at set times.
The file opened in my terminal window using the vim text editor – which is notoriously harder to use than the nano editor we used before.
I had to hit ‘i’ to enter insertion mode. Then I right clicked, and pasted in my cronjob code. Then I pressed the escape key to exit insertion mode. Finally, I typed “wq!” to save my changes and quit.
Remember how crontab works:
minute | hour | day-of-month | month | day-of-week
I set the script to run, every day, at 2:30am:
30 2 * * * sudo /home/ec2-user/backup.sh
And that’s it. I made sure to check the next day to make sure my cronjob worked (it did). Hopefully now, I won’t lose production data ever again!
Updates
Request Time Too Skewed (update)
A while after setting this up, I randomly checked my S3 buckets to make sure everything was still working. Although it had been for most of my sites, one had not been backed up in almost 2 months! I shelled into that machine, and tried running the script manually. Sure enough, I received an error: “An error occurred (RequestTimeTooSkewed) when calling the PutObject operation: The difference between the request time and the current time is too large.“
I checked the operating system’s current date and time, and it was off by 5 days. I’m not sure how that happened. I fixed it by installing and running “Network Time Protocol”:
sudo yum install ntp
sudo ntpdate ntp.ubuntu.com
After that, I was able to run my backup script successfully, without any S3 errors.
Nano text-editor tip I learned along the way:
You can delete chunks of text content using Nano. Use CTRL + Shift + 6 to enter selection mode, move the cursor to expand the block, and press CTRL + K to delete it.
Additional References:
https://www.javatpoint.com/steps-to-write-and-execute-a-shell-script