My last post was about launching a website onto AWS. This covered launching a new EC2 instance, configuring a security group, installing LAMP software, and pointing a domain at the new instance. The only thing missing was to configure SSL and HTTPS.
Secure Sockets Layer (SSL) encrypts traffic between a website and its server. HTTPS is the protocol to deliver secured data via SSL to end-users.
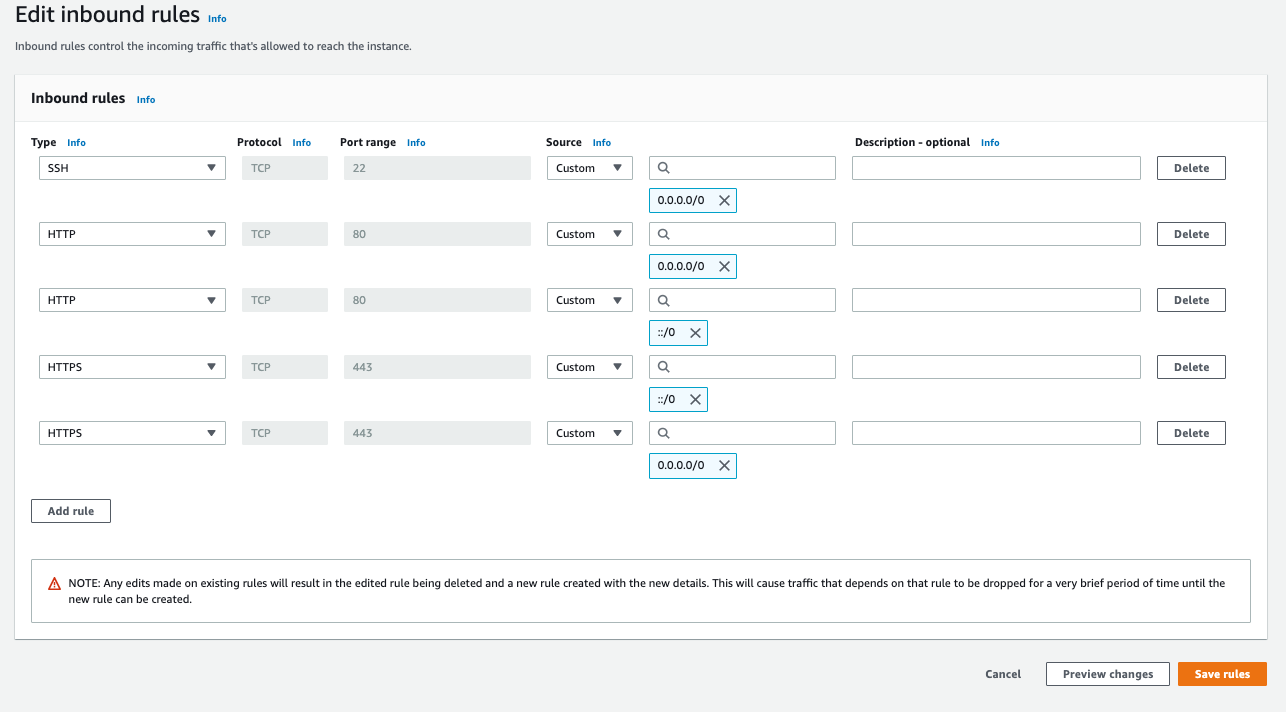
In my last post, I already allowed all traffic through port 443 (the port that HTTPS uses) in the security group for my EC2 instance. Now I’ll install software to provision SSL certificates for the server.
Certbot
Certbot is free software that will communicate with Let’s Encrypt, an SSL certificate authority, to automate the management of encryption certificates.
Before downloading and installing Certbot, we’ll need to install some dependencies (Extra Packages for Enterprise Linux). SSH into the EC2 instance that you want to secure, and run this command in your home directory (/home/ec2-user):
sudo wget -r --no-parent -A 'epel-release-*.rpm' http://dl.fedoraproject.org/pub/epel/7/x86_64/Packages/e/
Then install it:
sudo rpm -Uvh dl.fedoraproject.org/pub/epel/7/x86_64/Packages/e/epel-release-*.rpm
And enable it:
sudo yum-config-manager --enable epel*
Now, we’ll need to edit the Apache (our web hosting software) configuration file. Mine is located here: /etc/httpd/conf/httpd.conf
You can use the Nano CLI text editor to make changes to this file by running:
sudo nano /etc/httpd/conf/httpd.conf
Scroll down a bit, and you’ll find a line that says “Listen 80”. Paste these lines below (obviously, changing antpace.com to your own domain name)
<VirtualHost *:80>
    DocumentRoot "/var/www/html"
    ServerName "antpace.com"
    ServerAlias "www.antpace.com"
</VirtualHost>
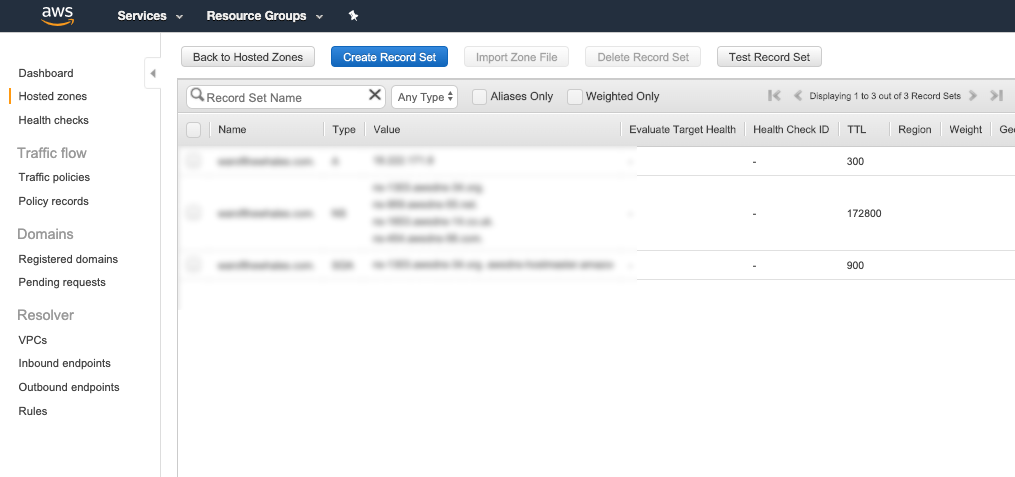
Make sure you have an A record (via Route 53) for both yourwebsite.com AND www.yourwebsite.com with the value set as your EC2 public IP address.
After saving, you’ll need to restart the server software:
sudo systemctl restart httpd
Now we’re ready for Certbot. Install it:
sudo yum install -y certbot python2-certbot-apache
Run it:
sudo certbot
Follow the prompts as they appear.
Automatic renewal
Finally, schedule an automated task (a cron job) to renew the encryption certificate as needed. If you don’t do this part, HTTPS will fail for your website after a few months. Users will receive an ugly warning, telling them that your website is not secure. Don’t skip this part!
Run this command to open your cron file:
sudo nano /etc/crontab
Schedule Certbot to renew everyday, at 4:05 am:
05 4 * * * root certbot renew --no-self-upgrade
Make sure your cron daemon is running:
sudo systemctl restart crond
That’s it! Now your website, hosted on EC2 will support HTTPS. Next, we’ll force all traffic to use it.
Update (June 2025): Since publishing this guide, I revisited the SSL setup on a legacy EC2 instance running Amazon Linux 2 and found a faster, cleaner process. This time, I used certbot --apache with Amazon Linux Extras to install Certbot directly from the EPEL repository, which streamlined certificate generation and automatic Apache config updates. Rather than manually editing the Apache config or setting up symbolic links, Certbot handled everything—including HTTPS redirects—with a few prompts. I also confirmed that Amazon Linux 2 doesn’t automatically schedule renewals via systemd, so I added a simple cron job to ensure the certificate auto-renews. This approach is quicker, more reliable, and avoids the need for low-level configuration tweaks.