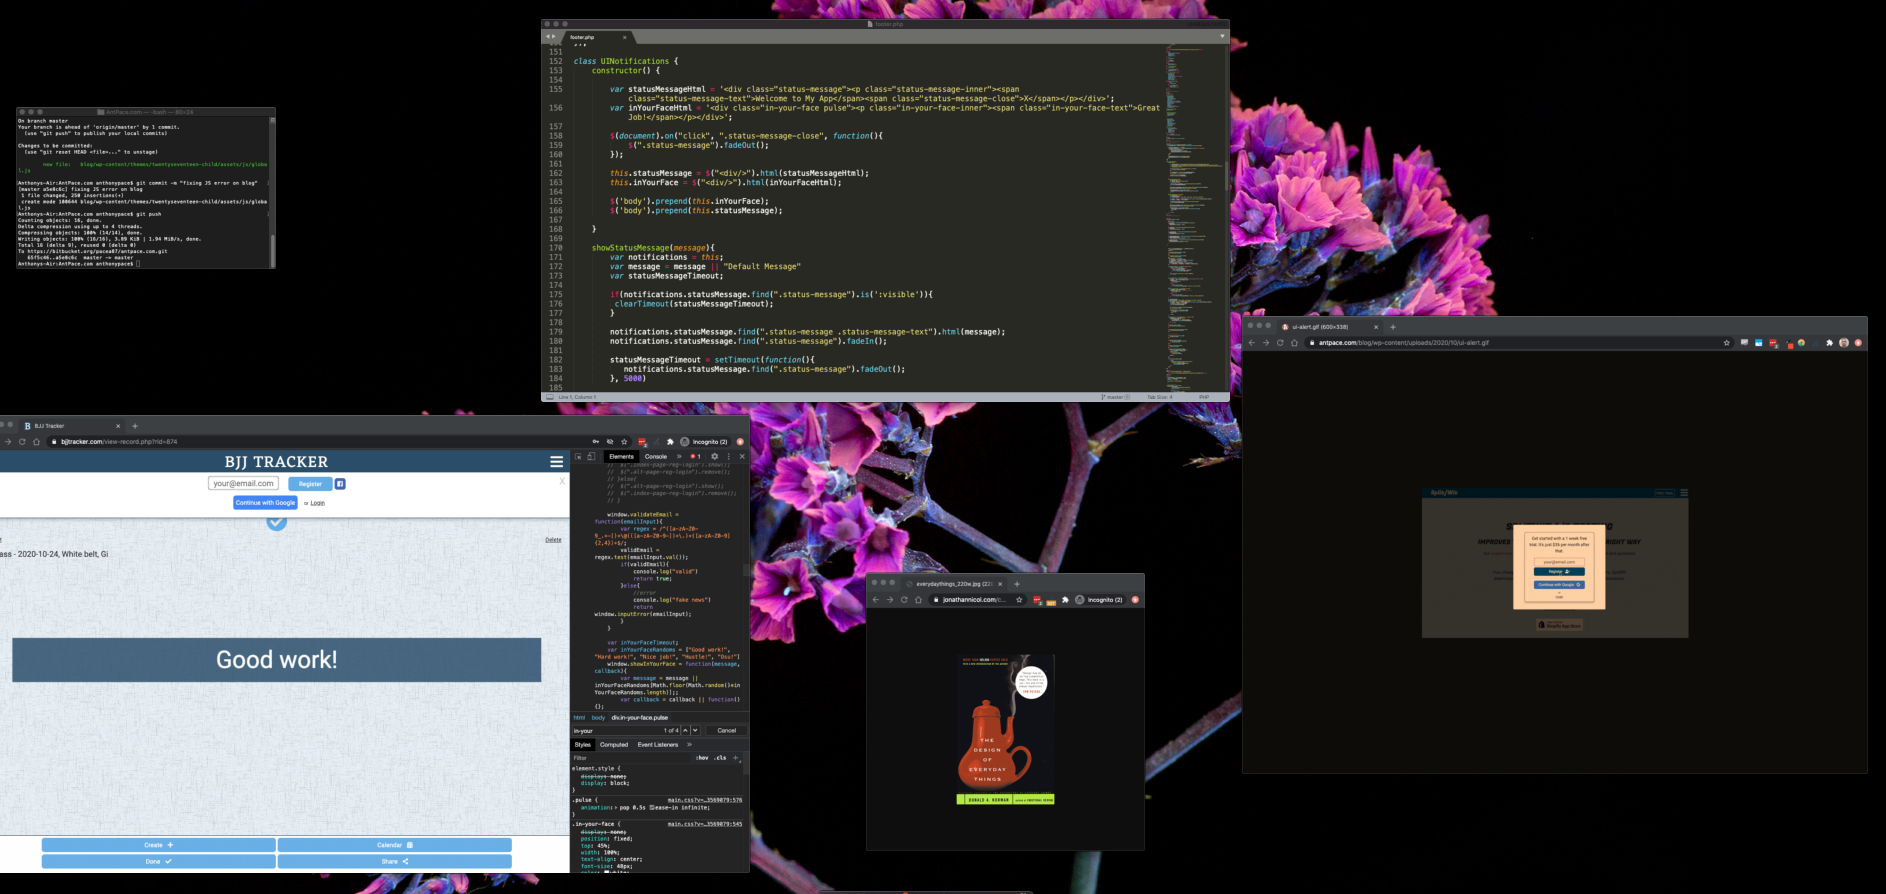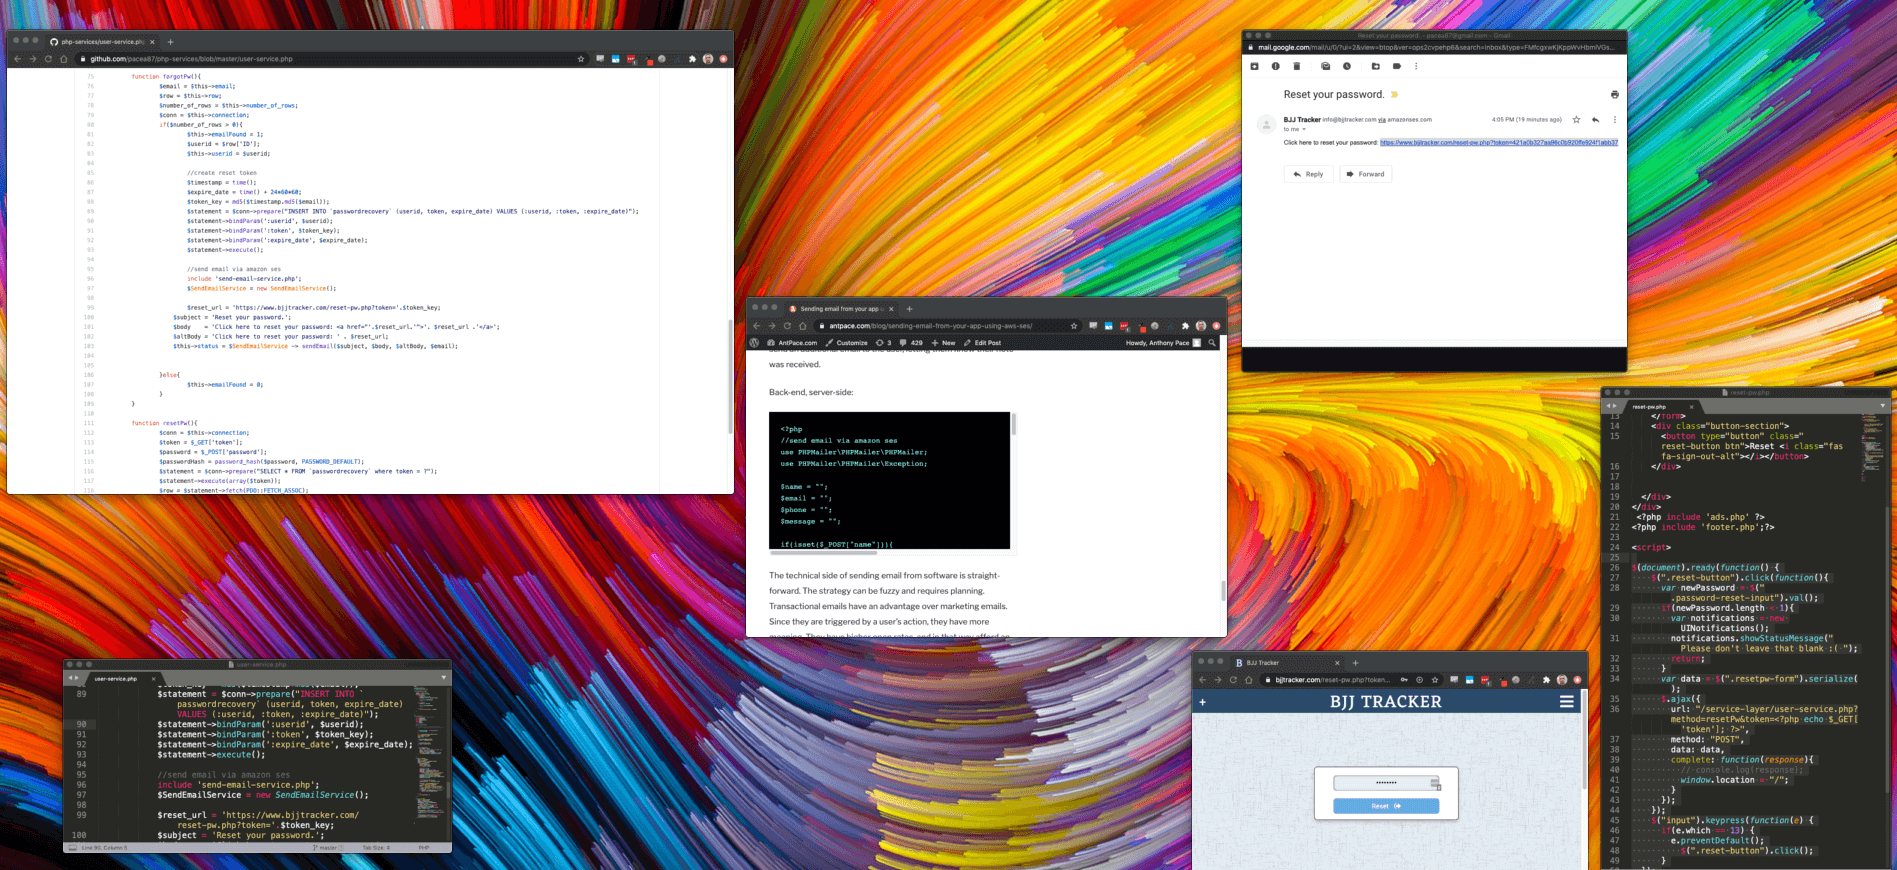
My email account is a skeleton key to anything online I’ve signed up for. If I forget a password, I can reset it. Implementing this feature for a web app takes just a few steps.
When users enter an incorrect password, I prompt them to reset it.
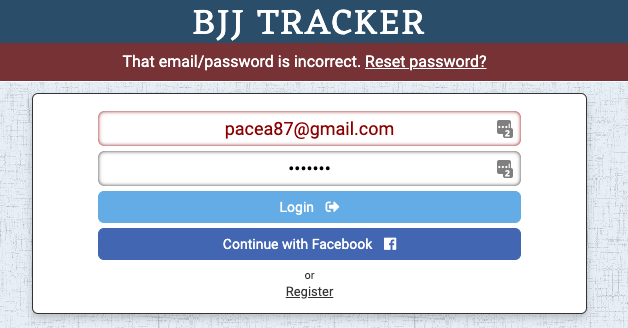
Clicking the reset link calls a “forgot password” back-end service.
$(document).on("click",".reset-pw-cta", function(){
	var email = $(this).attr("data");
	$.ajax({
		url:"/service-layer/user-service.php?method=forgotPw&email="+email,
		complete:function(response){
			console.log(response.responseText)
			window.showStatusMessage("A password reset email as been sent to " + email);
		}
	})
});
A token is created in our ‘password recovery’ database table. That token is related back to an account record.

As a security practice, recovery tokens are deleted nightly by a cron job.
An email is then sent containing a “reset password” link embedded with the token. AWS SES and PHPMailer is used to send that message.
function forgotPw(){
	$email = $this->email;
	$row = $this->row;
	$number_of_rows = $this->number_of_rows;
	$conn = $this->connection;
	if($number_of_rows > 0){
		$this->emailFound = 1;
		$userid = $row['ID'];
		$this->userid = $userid;

		//create reset token
		$timestamp = time();
		$expire_date = time() + 24*60*60;
		$token_key = md5($timestamp.md5($email));
		$statement = $conn->prepare("INSERT INTO `passwordrecovery` (userid, token, expire_date) VALUES (:userid, :token, :expire_date)");
		$statement->bindParam(':userid', $userid);
		$statement->bindParam(':token', $token_key);
		$statement->bindParam(':expire_date', $expire_date);
		$statement->execute();

		//send email via amazon ses
		include 'send-email-service.php';
		$SendEmailService = new SendEmailService();

		$reset_url = 'https://www.bjjtracker.com/reset-pw.php?token='.$token_key;
	        $subject = 'Reset your password.';
	        $body    = 'Click here to reset your password: <a href="'.$reset_url.'">'. $reset_url .'</a>';
	        $altBody = 'Click here to reset your password: ' . $reset_url;
	        $this->status = $SendEmailService -> sendEmail($subject, $body, $altBody, $email);


	}else{
		$this->emailFound = 0;
	}
}
That link navigates to a page with a “reset password” form.
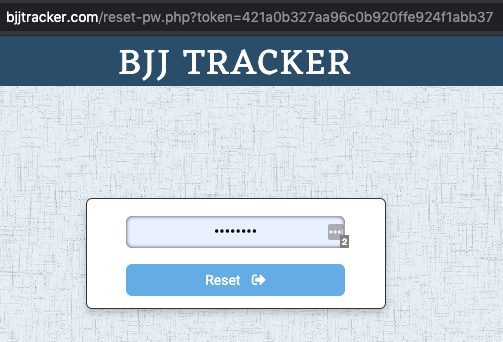
Upon submission the new password and embedded token are passed along to the server.
$(document).ready(function() {
    $(".reset-button").click(function(){
      var newPassword = $(".password-reset-input").val();
      if(newPassword.length < 1){
        var notifications = new UINotifications();
        notifications.showStatusMessage("Please don't leave that blank :( ");
        return;
      }
      var data = $(".resetpw-form").serialize();
      $.ajax({
        url: "/service-layer/user-service.php?method=resetPw&token=<?php echo $_GET['token']; ?>",
        method: "POST",
        data: data,
        complete: function(response){
          // console.log(response);
          window.location = "/";
        }
      });
    });
    $("input").keypress(function(e) {
      if(e.which == 13) {
        e.preventDefault();
          $(".reset-button").click();
      }
  });


});
The correct recovery record is selected by using the token value. That provides the user ID of the account that we want to update. The token should be deleted once the database is updated.
function resetPw(){
	$conn = $this->connection;
	$token = $_GET['token'];
	$password = $_POST['password'];
	$passwordHash = password_hash($password, PASSWORD_DEFAULT);
	$statement = $conn->prepare("SELECT * FROM `passwordrecovery` where token = ?");
	$statement->execute(array($token));
	$row = $statement->fetch(PDO::FETCH_ASSOC);
	$userid = $row['userid'];

	$update_statement = $conn->prepare("UPDATE `users` SET password = ? where ID = ?");
	$update_statement->execute(array($passwordHash, $userid));

	$delete_statement = $conn->prepare("DELETE FROM `passwordrecovery` where token = ?");
	$delete_statement->execute(array($token));
}
This is a secure and user-friendly workflow to allow users to reset their passwords.