My original deploy flow was the classic “freelancer special”:
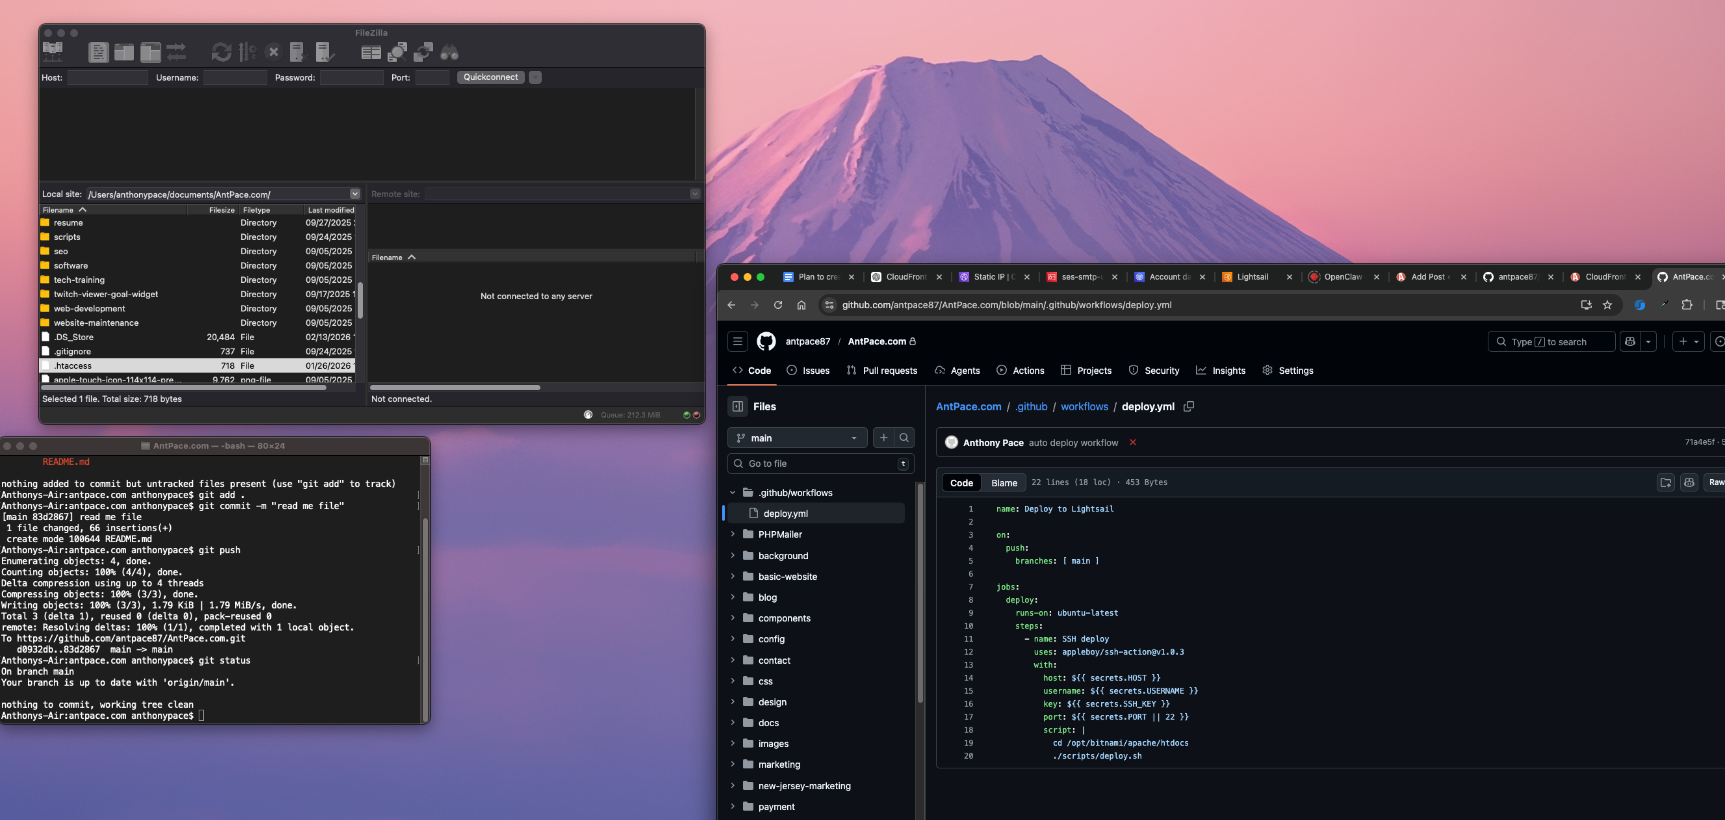
Make changes locally, open FileZilla, SFTP into the server, drag files over, hope I didn’t miss anything, refresh the site, repeat.
It worked, but it was slow and it always felt a little fragile. So we switched to auto-deploys with GitHub Actions. Now whenever I push to main, GitHub connects to the server and runs a deploy script automatically.
Push code → live site updates. No more FileZilla sessions.
And here’s a bonus I didn’t fully appreciate until I started using it: it also makes it ridiculously easy to make small static page edits from my phone using the GitHub.com editor. Change a line of HTML, fix a typo, update a link, commit to main, and it deploys the same way as if I did it from my laptop.
What We Set Up
- Trigger: A push to
mainruns the workflow. - Action: The workflow SSHs into the server (in our case, an AWS Lightsail instance), goes to the site’s document root, and runs a small deploy script.
- Result: Every push to
mainupdates the live site without manual SFTP, SSH, or FTP.
1. The GitHub Workflow
Create .github/workflows/deploy.yml in your repo:
name: Deploy to Lightsail

on:
  push:
    branches: [ main ]

jobs:
  deploy:
    runs-on: ubuntu-latest
    steps:
      - name: SSH deploy
        uses: appleboy/ssh-action@v1.0.3
        with:
          host: ${{ secrets.HOST }}
          username: ${{ secrets.USERNAME }}
          key: ${{ secrets.SSH_KEY }}
          port: ${{ secrets.PORT || 22 }}
          script: |
            cd /opt/bitnami/apache/htdocs
            ./scripts/deploy.sh
What’s happening here:
appleboy/ssh-actionruns the given script on your server over SSH.host,username,key, and optionallyportcome from GitHub Secrets so you never put credentials in the repo.- Adjust the
cdpath to your actual document root.
2. The Deploy Script on the Server
On the server, we keep the deploy logic in a script (e.g. scripts/deploy.sh) that the workflow runs:
#!/bin/bash
set -euo pipefail
git pull origin main
set -euo pipefailmakes the script exit on errors and on use of unset variables.- The only “deploy” step is pulling the latest
main. You can expand this later (build steps, dependency installs, cache clears, service restarts, etc.).
Make sure:
- The script is executable:
chmod +x scripts/deploy.sh - The directory you’re deploying from is a git clone of your repo, with
originpointing to the same GitHub repo you push to.
3. GitHub Secrets
In your repo: Settings → Secrets and variables → Actions. Add:
- HOST – Your server’s hostname or IP (example:
origin.antpace.com) - USERNAME – SSH user (Bitnami stacks often use
bitnami) - SSH_KEY – Private key content that can log in as that user (paste the whole key including the BEGIN/END lines)
- PORT (optional) – SSH port if not 22
Now the runner can SSH in and deploy without you storing credentials in the repo.
4. The Underrated Win: Editing From Your Phone
This is the part that feels almost unfair once you have it.
Because deploys are tied to main, you can make simple static changes directly in the GitHub.com editor on mobile:
- Fix a typo
- Update a phone number
- Swap a link
- Change a headline
- Add a quick announcement banner
Commit to main, and the same workflow runs. No laptop required. No FileZilla. No “I’ll do it later when I’m home.”
5. One More Thing: Cache Invalidation
If you sit behind a CDN (like CloudFront), you may need to invalidate cache after deploy so you actually see your changes immediately.
You can:
- Add a workflow step that uses the AWS CLI to create a CloudFront invalidation, or
- Run it inside the same SSH script (if the AWS CLI is installed on the server)
That’s it.
The whole goal here is to stop “deploying” and start “pushing.” Once this is in place, you’re not moving files around anymore. You’re making changes in one place (your repo), and production stays in sync automatically.